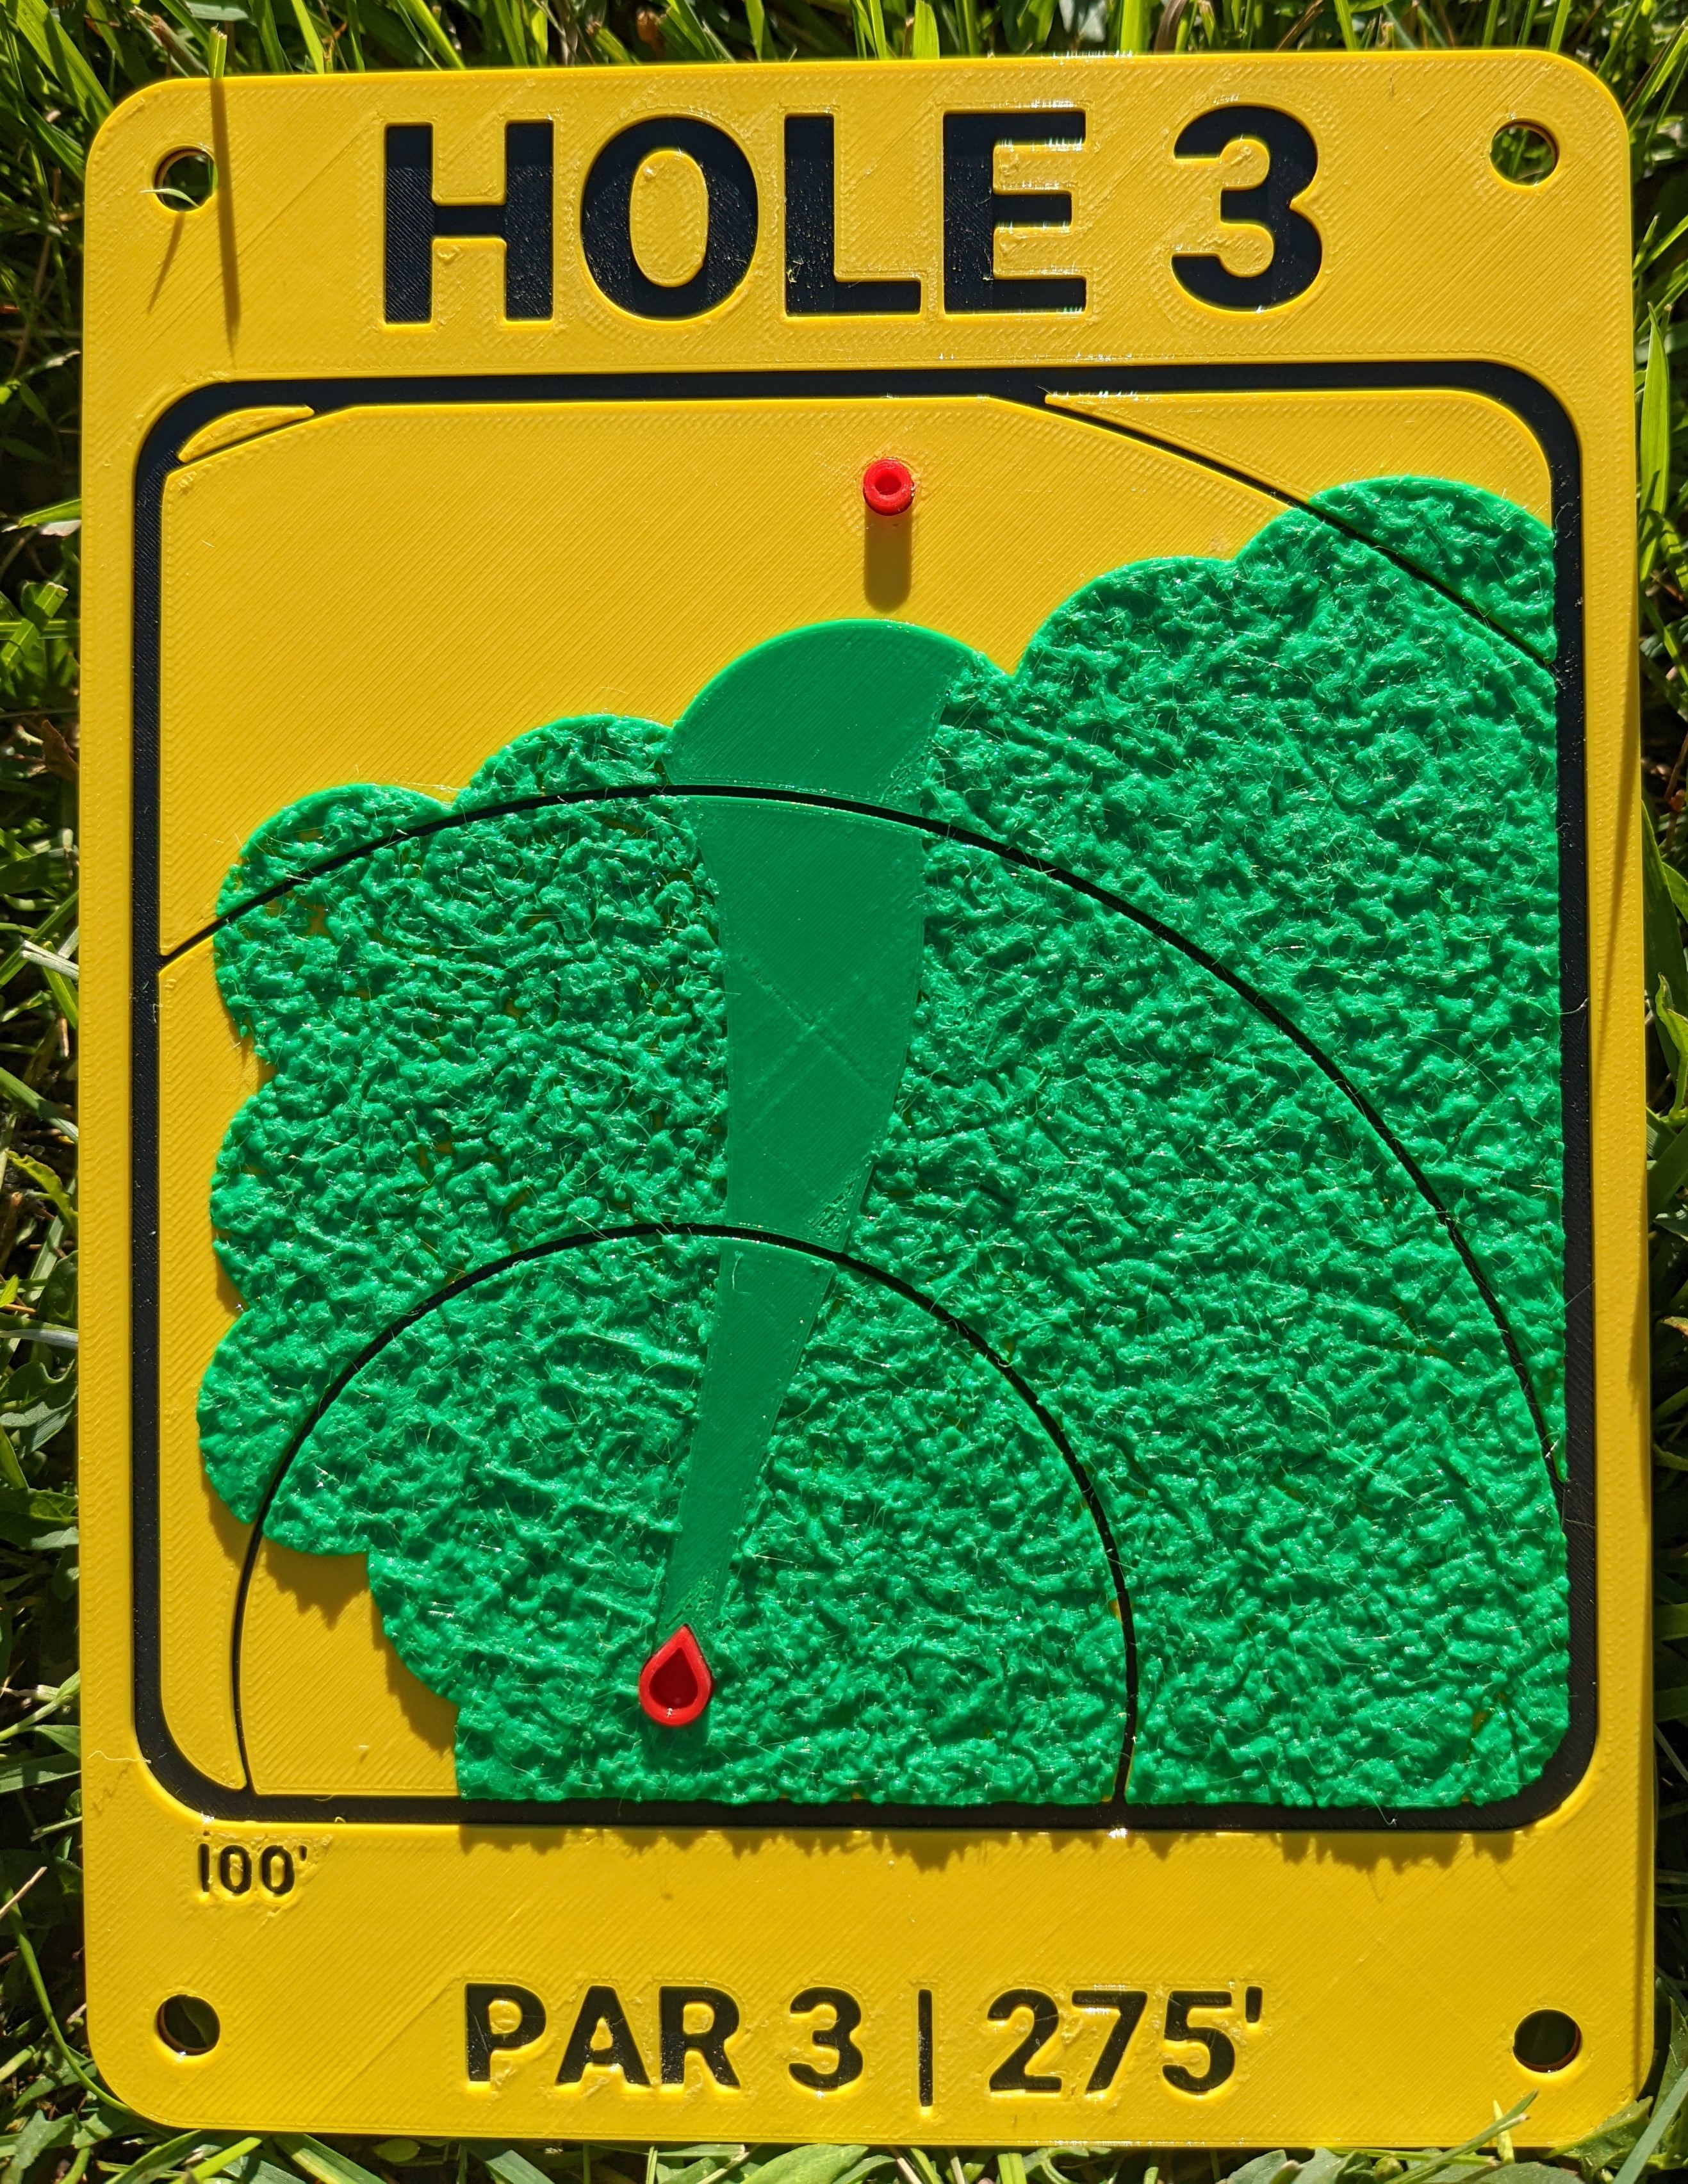
Hole 3
Hole 3 sign viewed under natural sunlight. Top level layer lines could be cleaned up if desired.
A client requested tee signs for a new 9-hole disc golf course they developed. With consultation and design support, we landed on a final product.
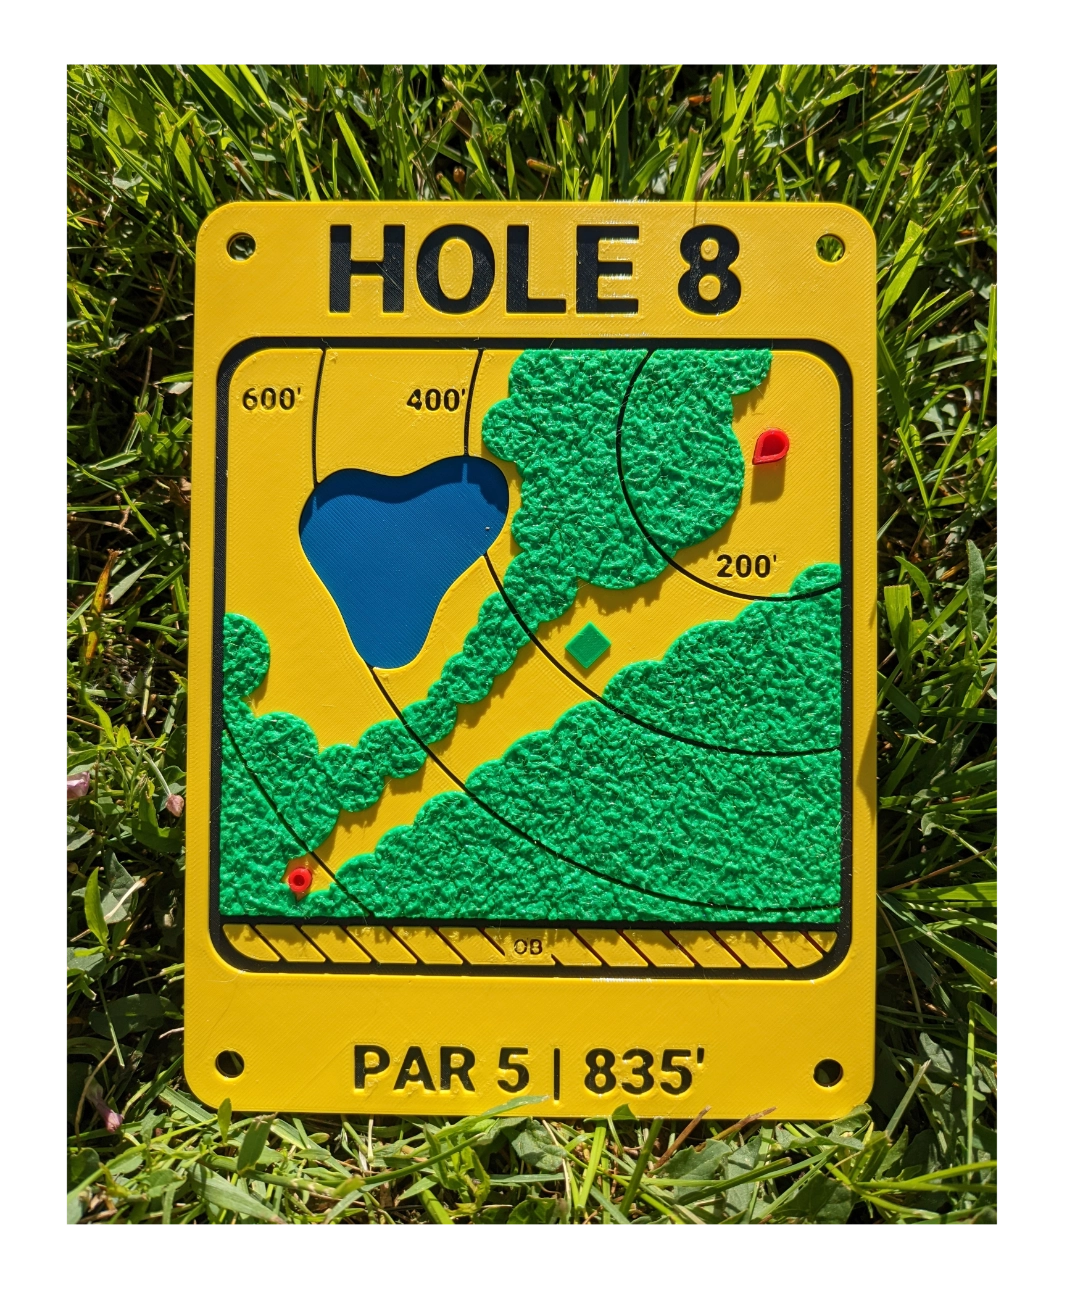
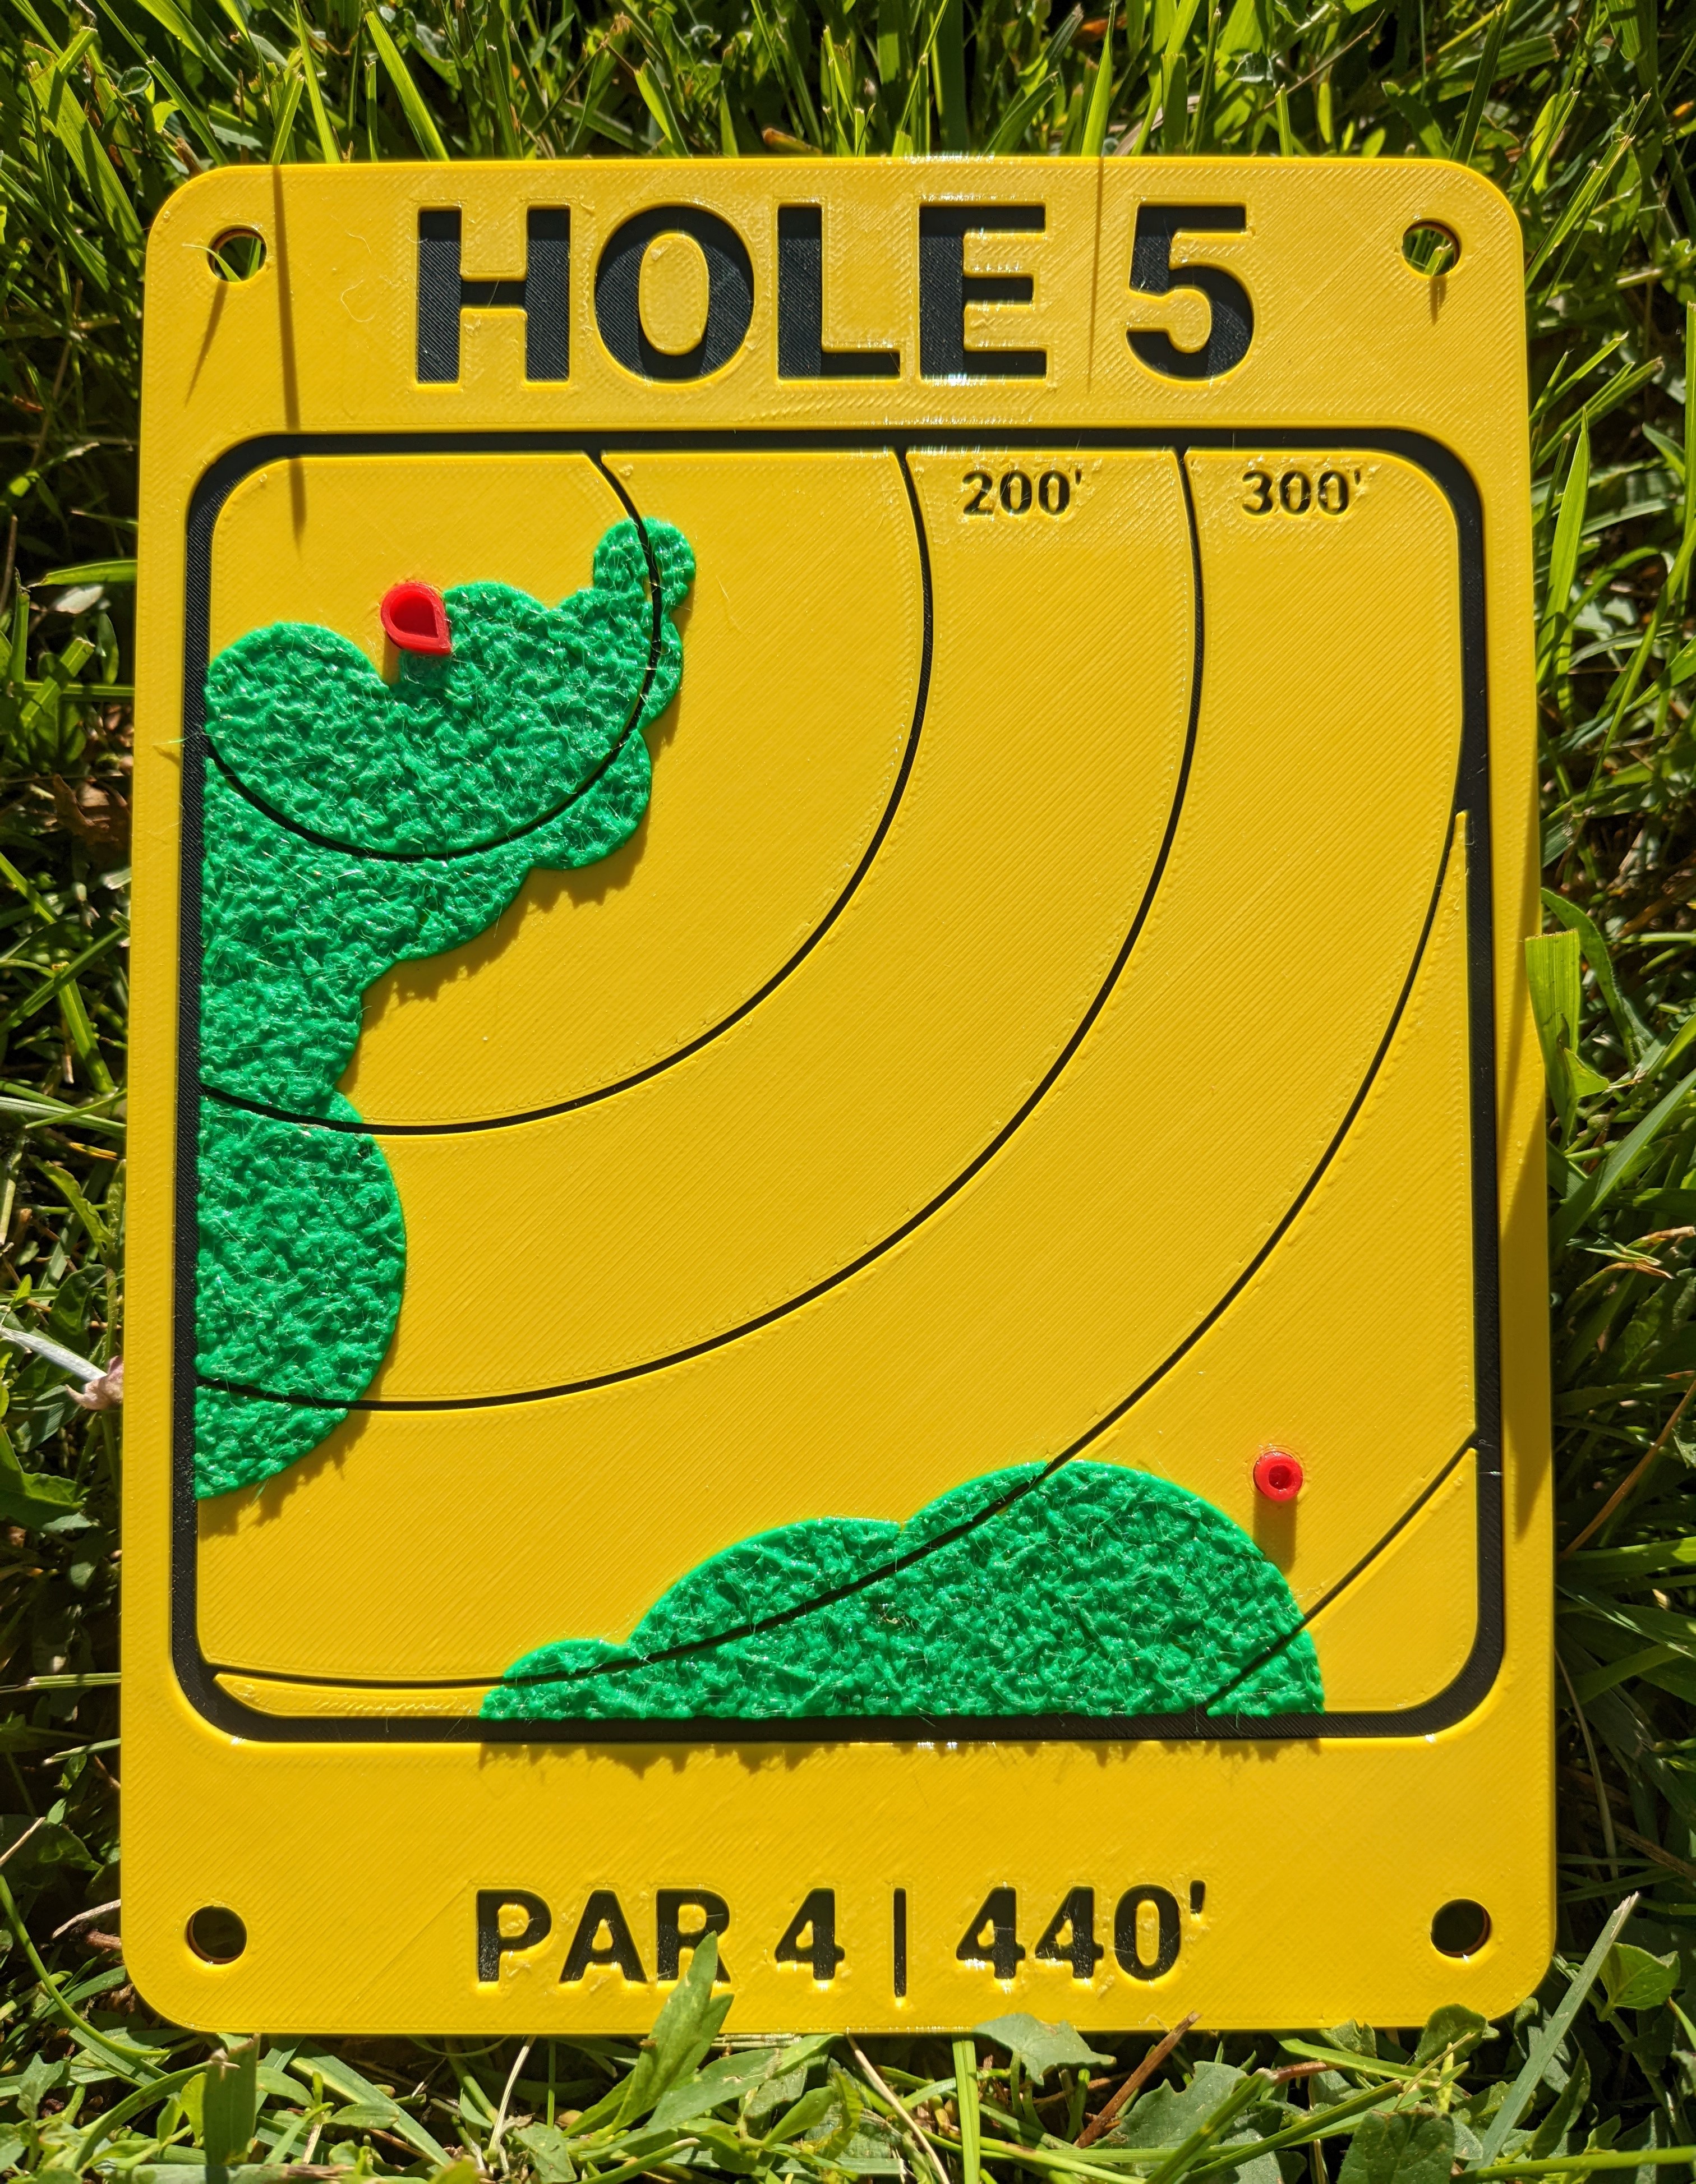
Coming up with the template for the general background design was the first step. Being able to read the hole number from a distance is key when trying to navigate a course so this text was listed at the top in large font. After getting closer to the sign, text at the bottom informs the player of what is in store in a broad overview.
These elements were then sent in a design package to the customer for verification that these adhered to their course standards.

A satellite view was projected into the CAD software to get accurate landmarks and distances and verify fit. Rings radiating from the tee box were drawn to give the player perspective of the distances that will be required of them on a real-world scale. Once these pieces were completed, the final model came to fruition.
It was decided to have the viewpoint be a bird's eye view that the player could orientate themselves with. Other options considered were to rotate each hole to have the tee box be at the lower section regardless of cardinal directions.

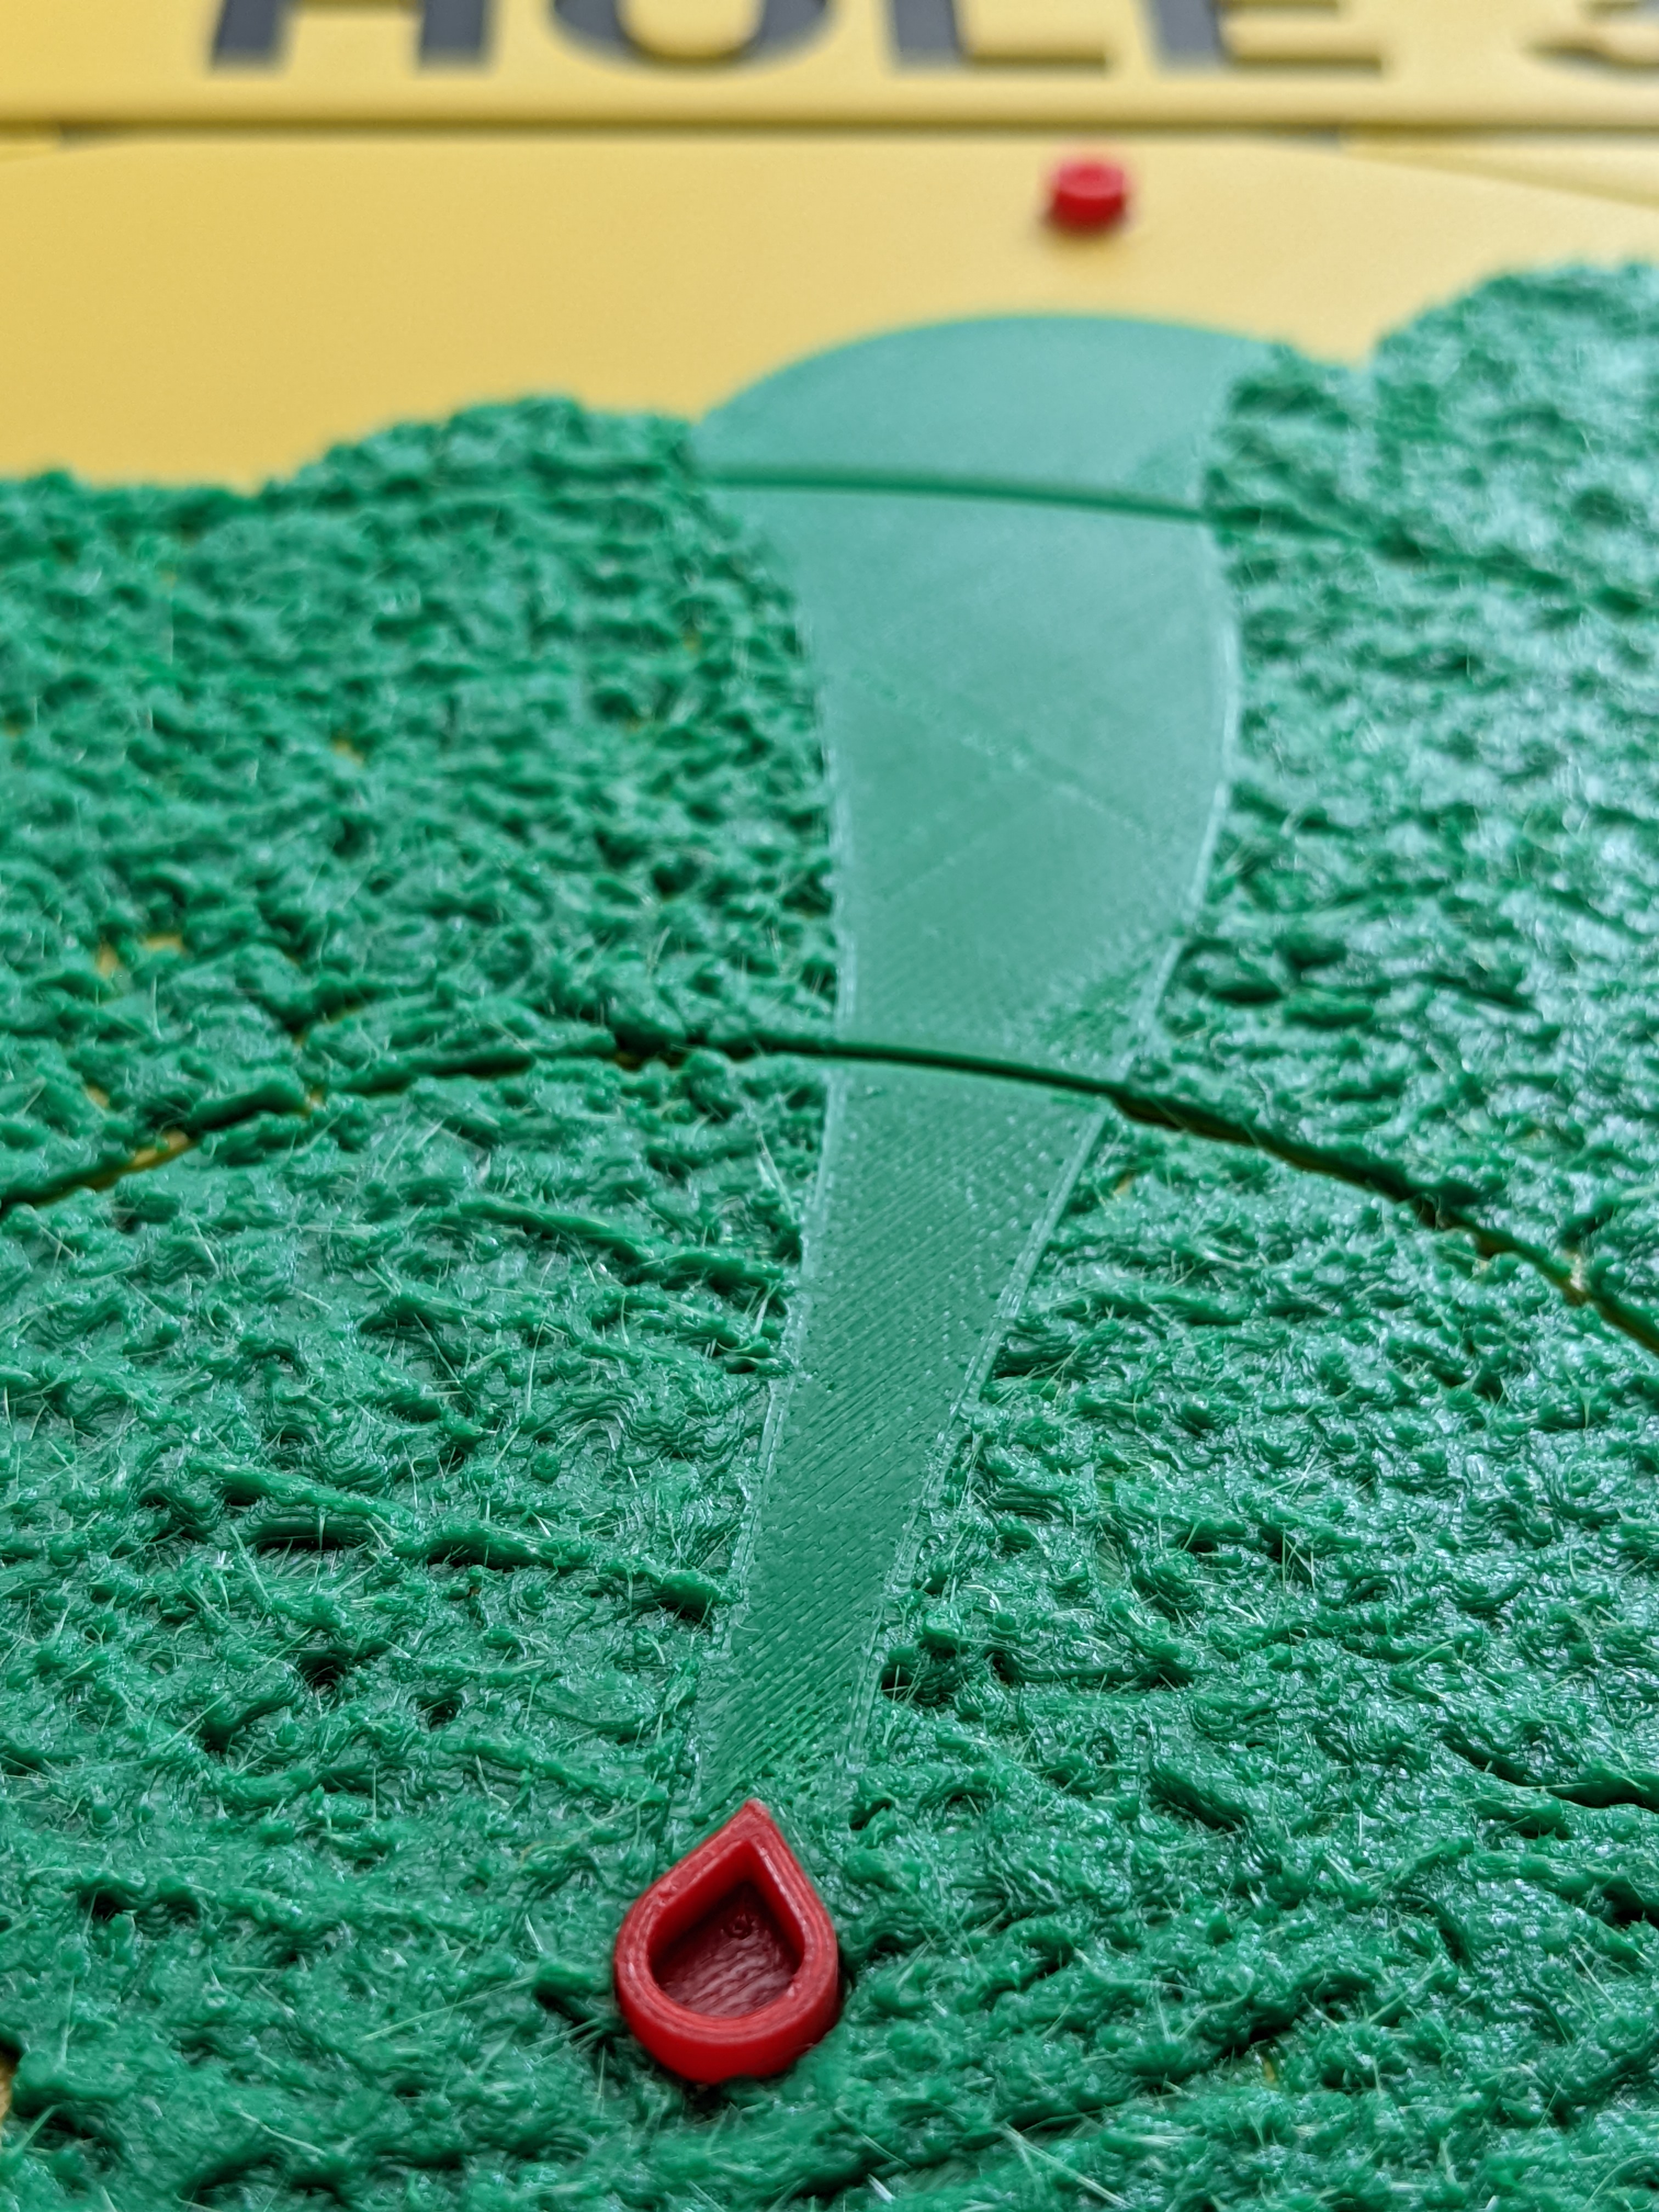
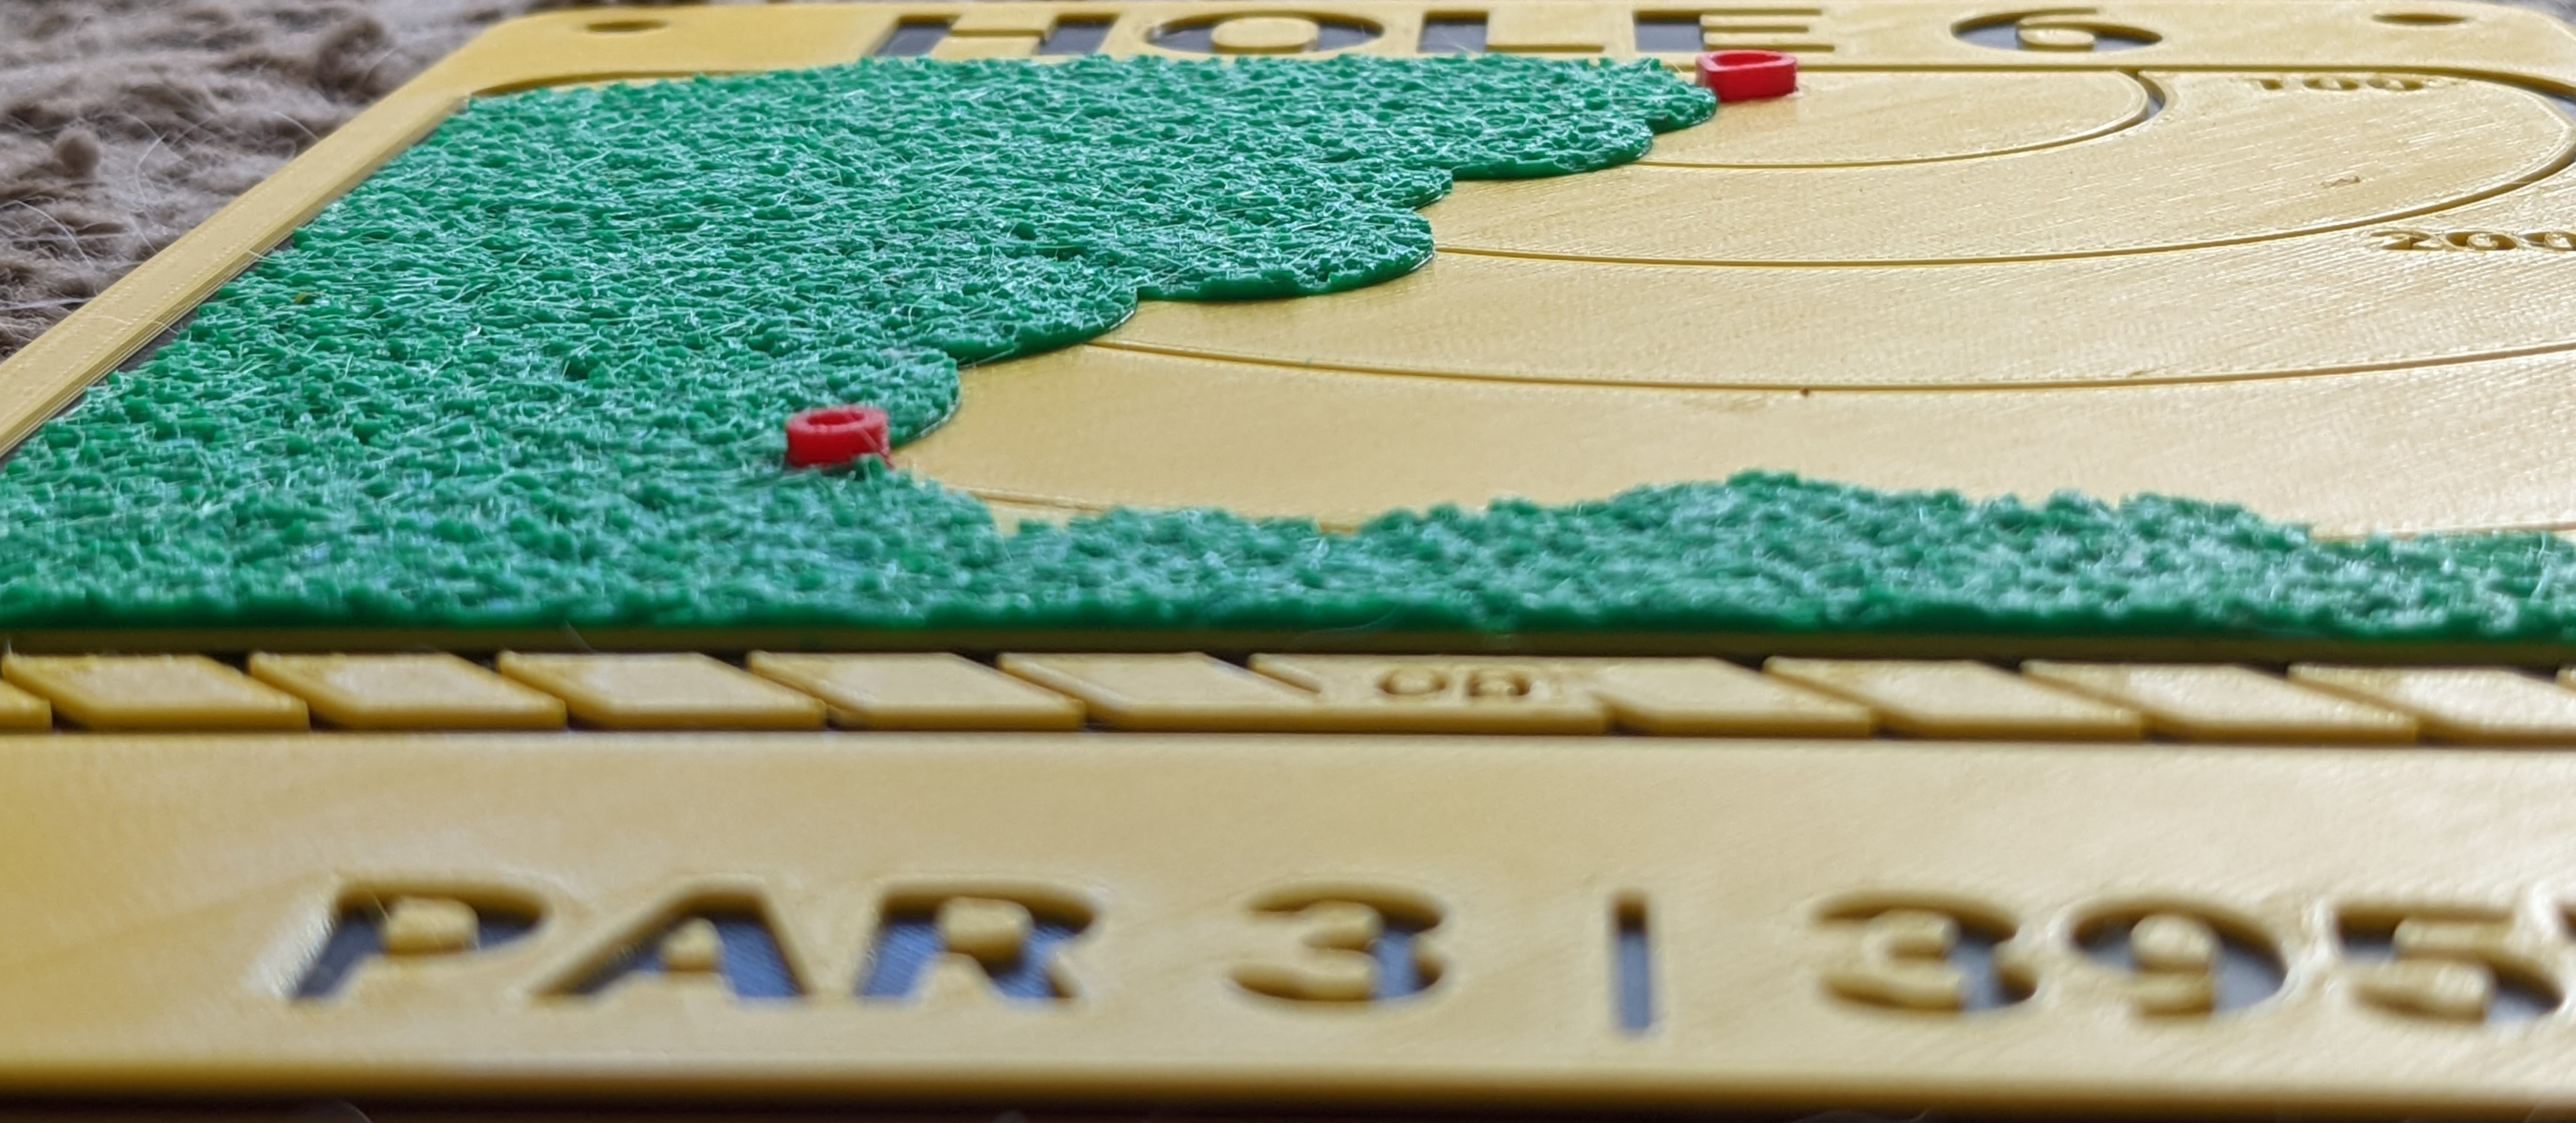
To create the tree texture, a custom bump map was made from scratch. The different values of white-black corresponded to the z-height when extruding. Through projecting this map onto the areas that had trees, we create a unique texture that gives the appearance of shrubbery.
The final texture of the print maintains a certain roughness to it which adds to the unique nature. A smoother finish could be accomplished through post-processing techniques if desired.
A final assembly of all the parts were created and sent to the CAM software for slicing. The corresponding gcode was sent to the 3D printer for final creation.
There were numerous stops put into the code for filament color change. The breakdown can be seen in the image toe the side of the section above.
Hole 3 sign viewed under natural sunlight. Top level layer lines could be cleaned up if desired.
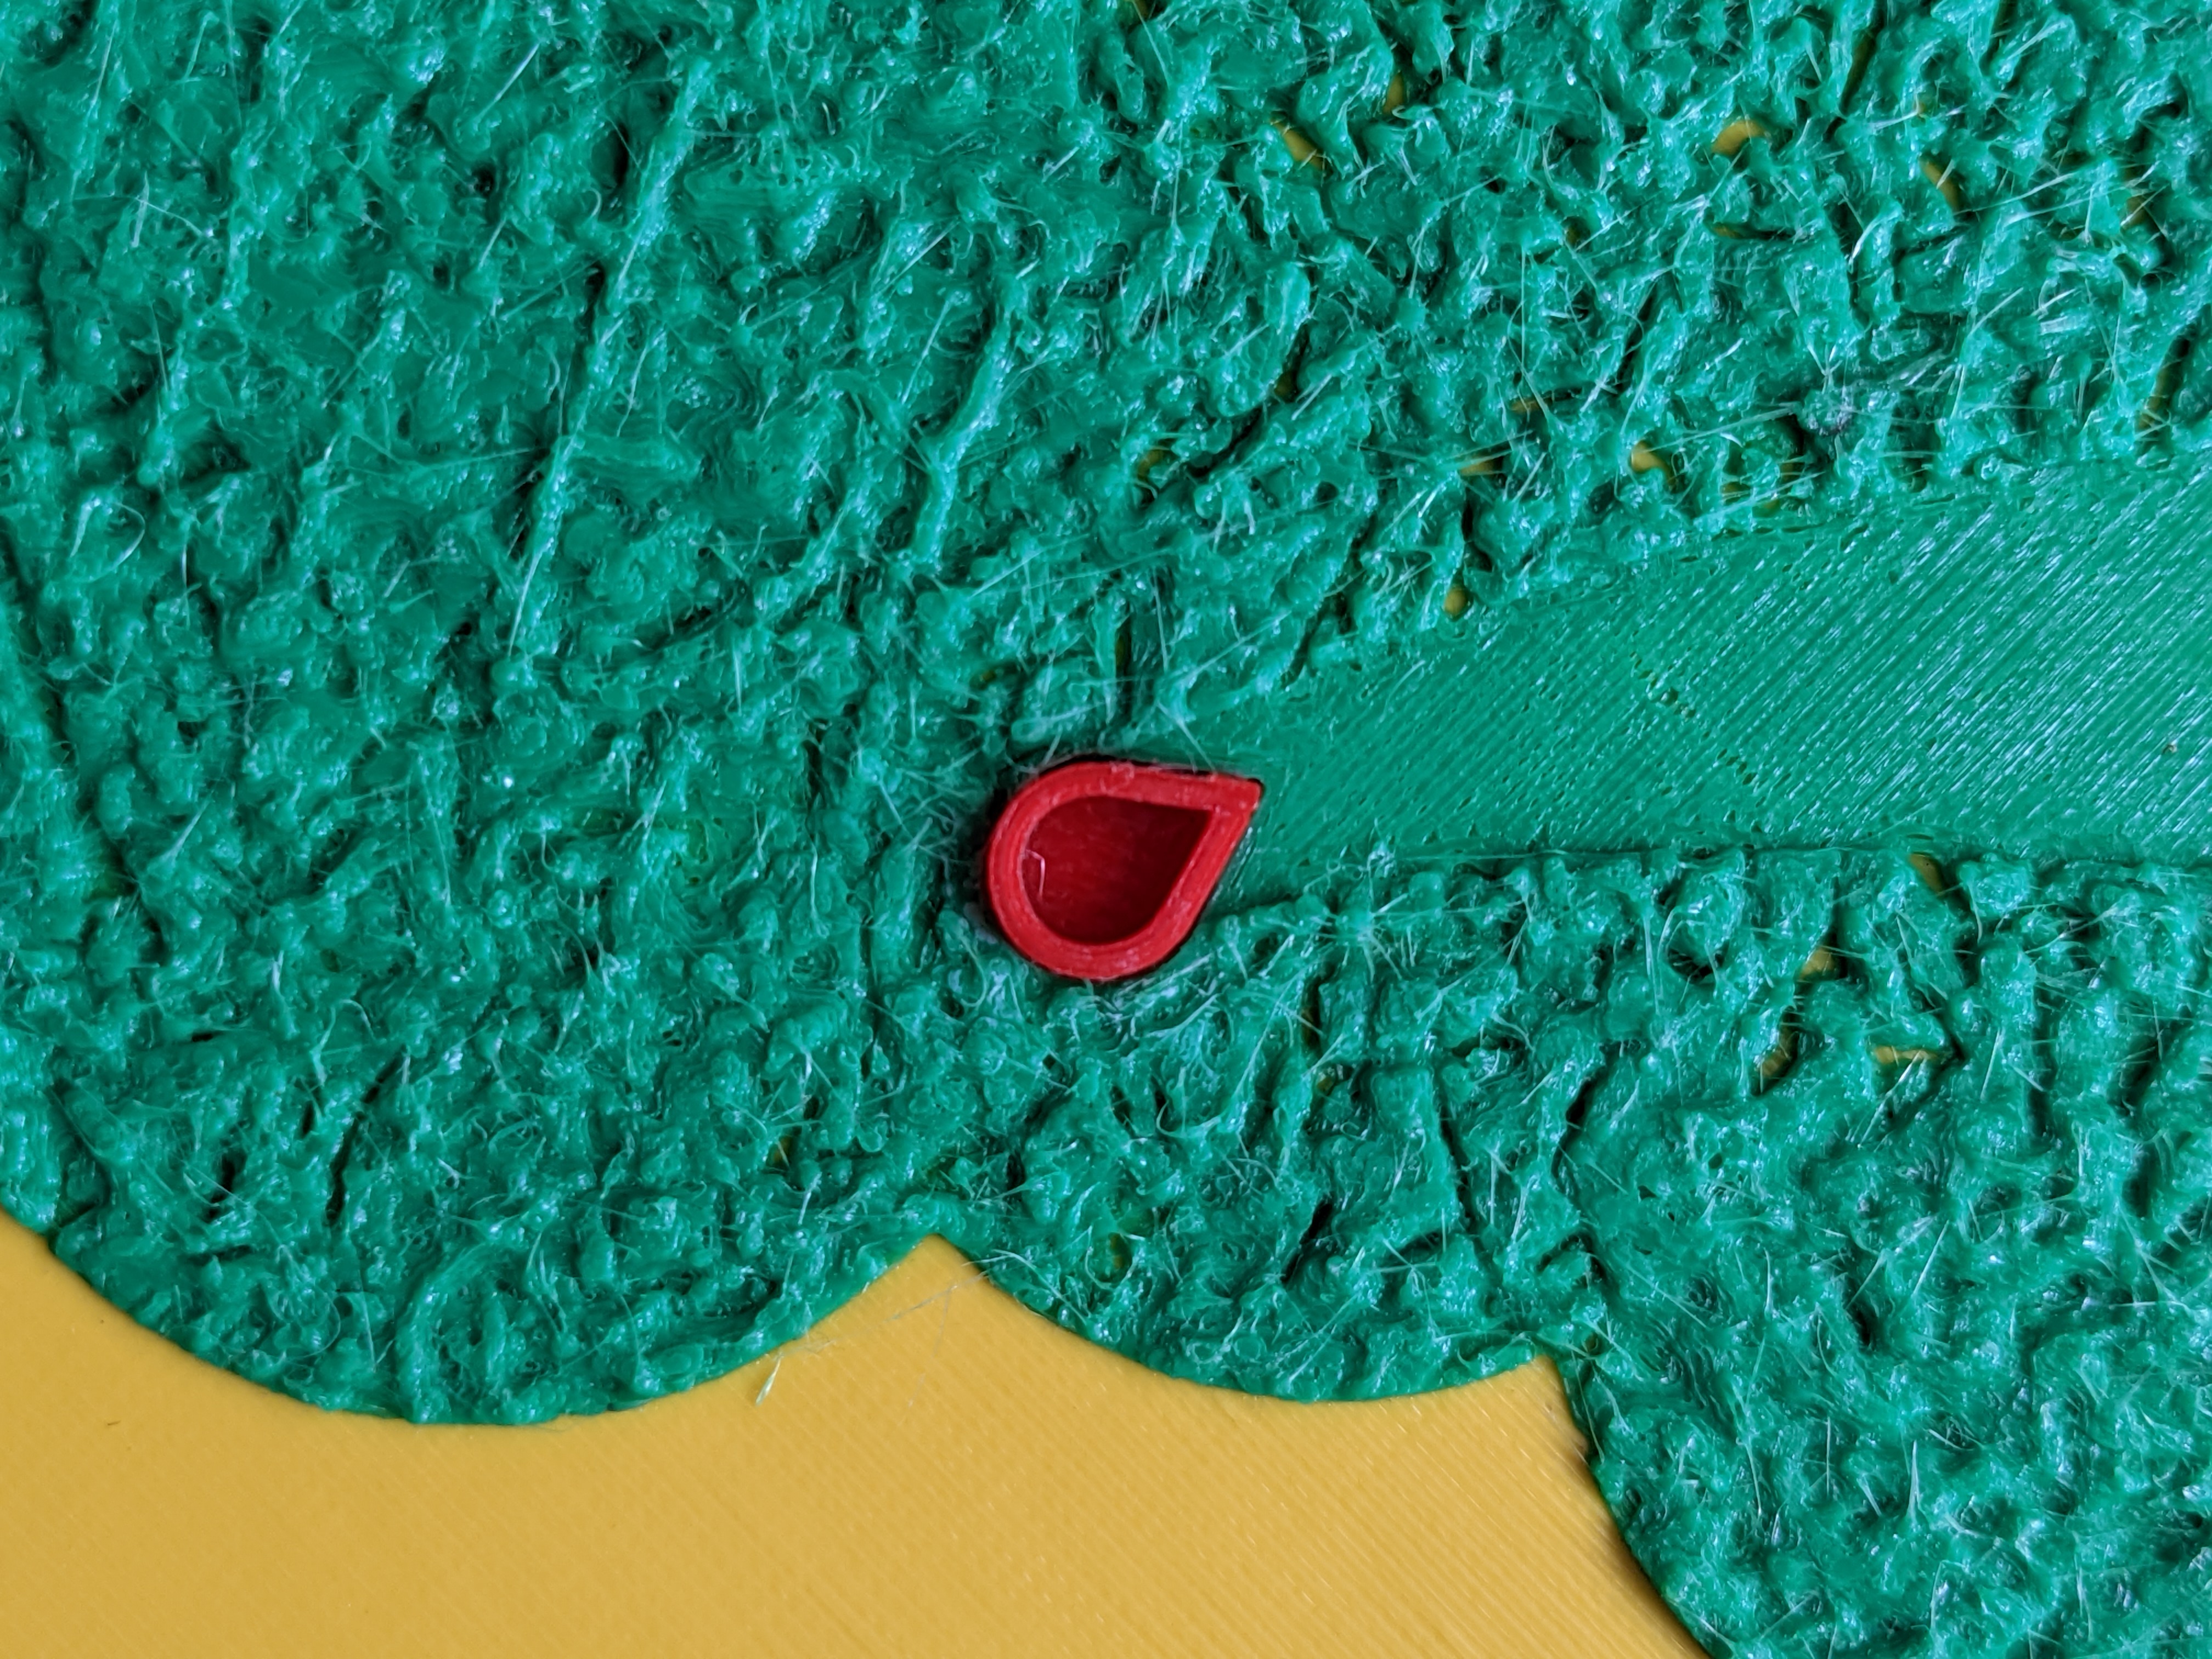
Stringing present in tree layer giving a unique effect.
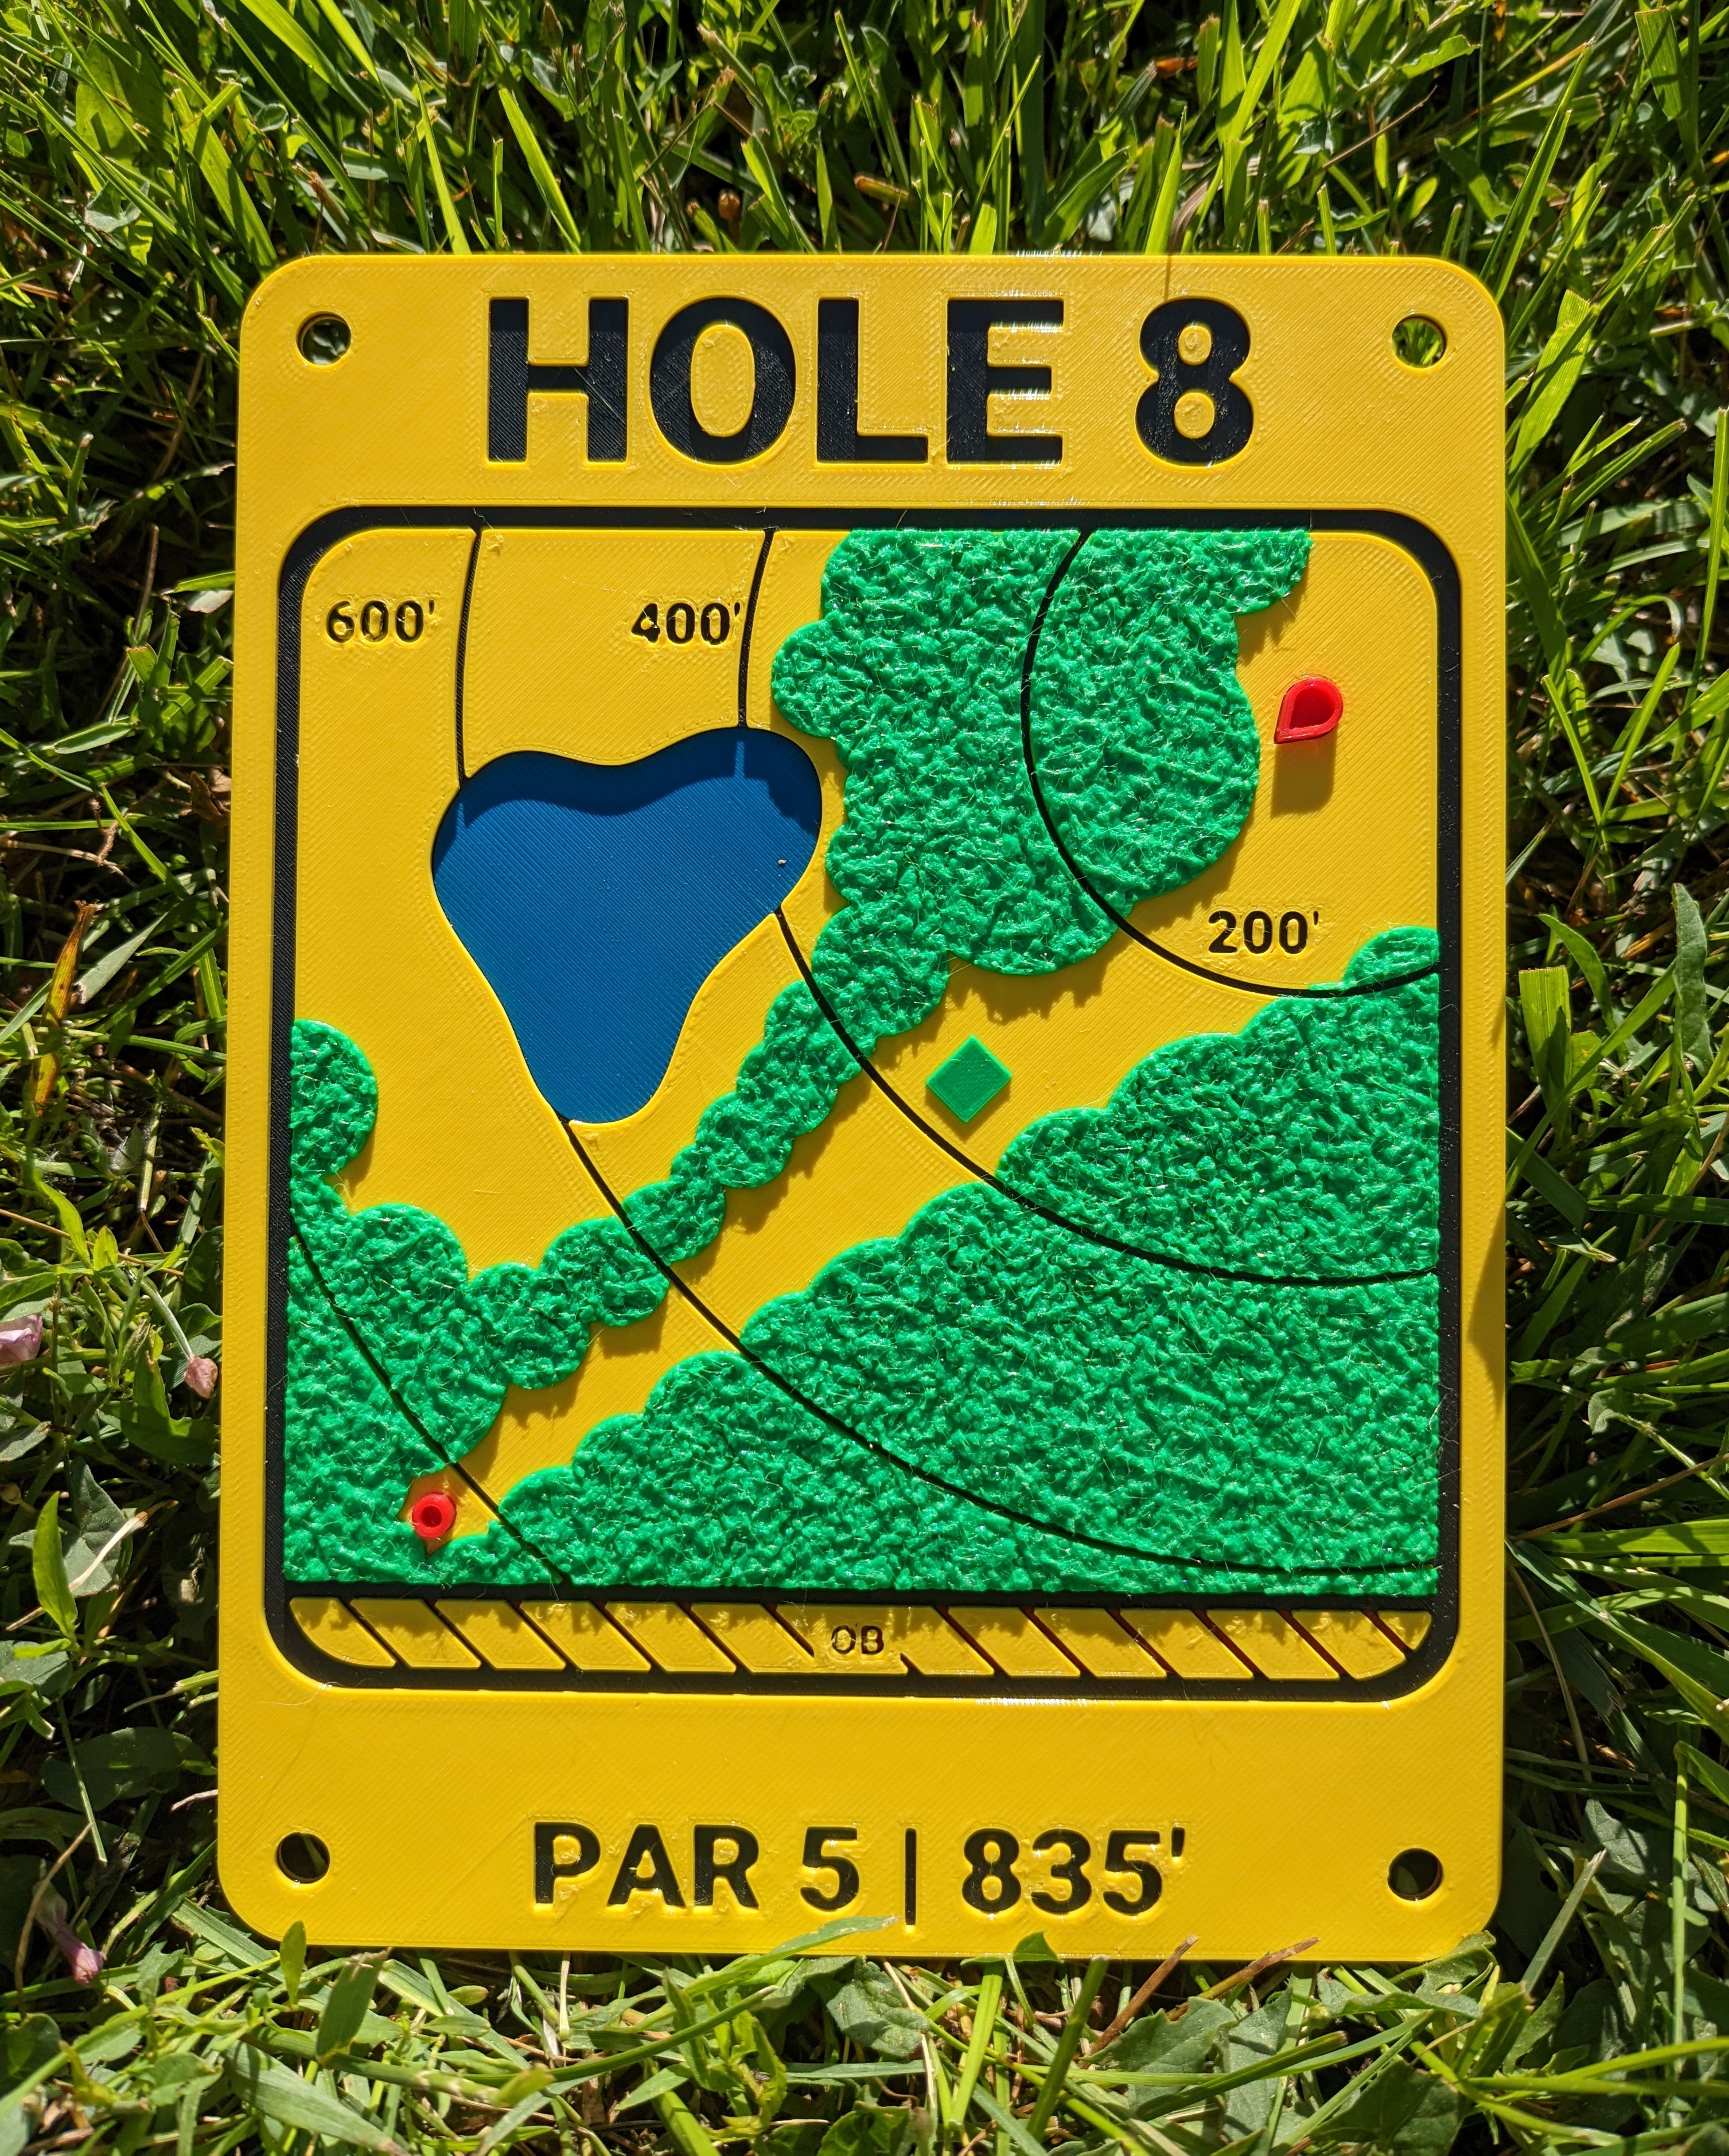
Mega par 5. Note the distances and obstacles.
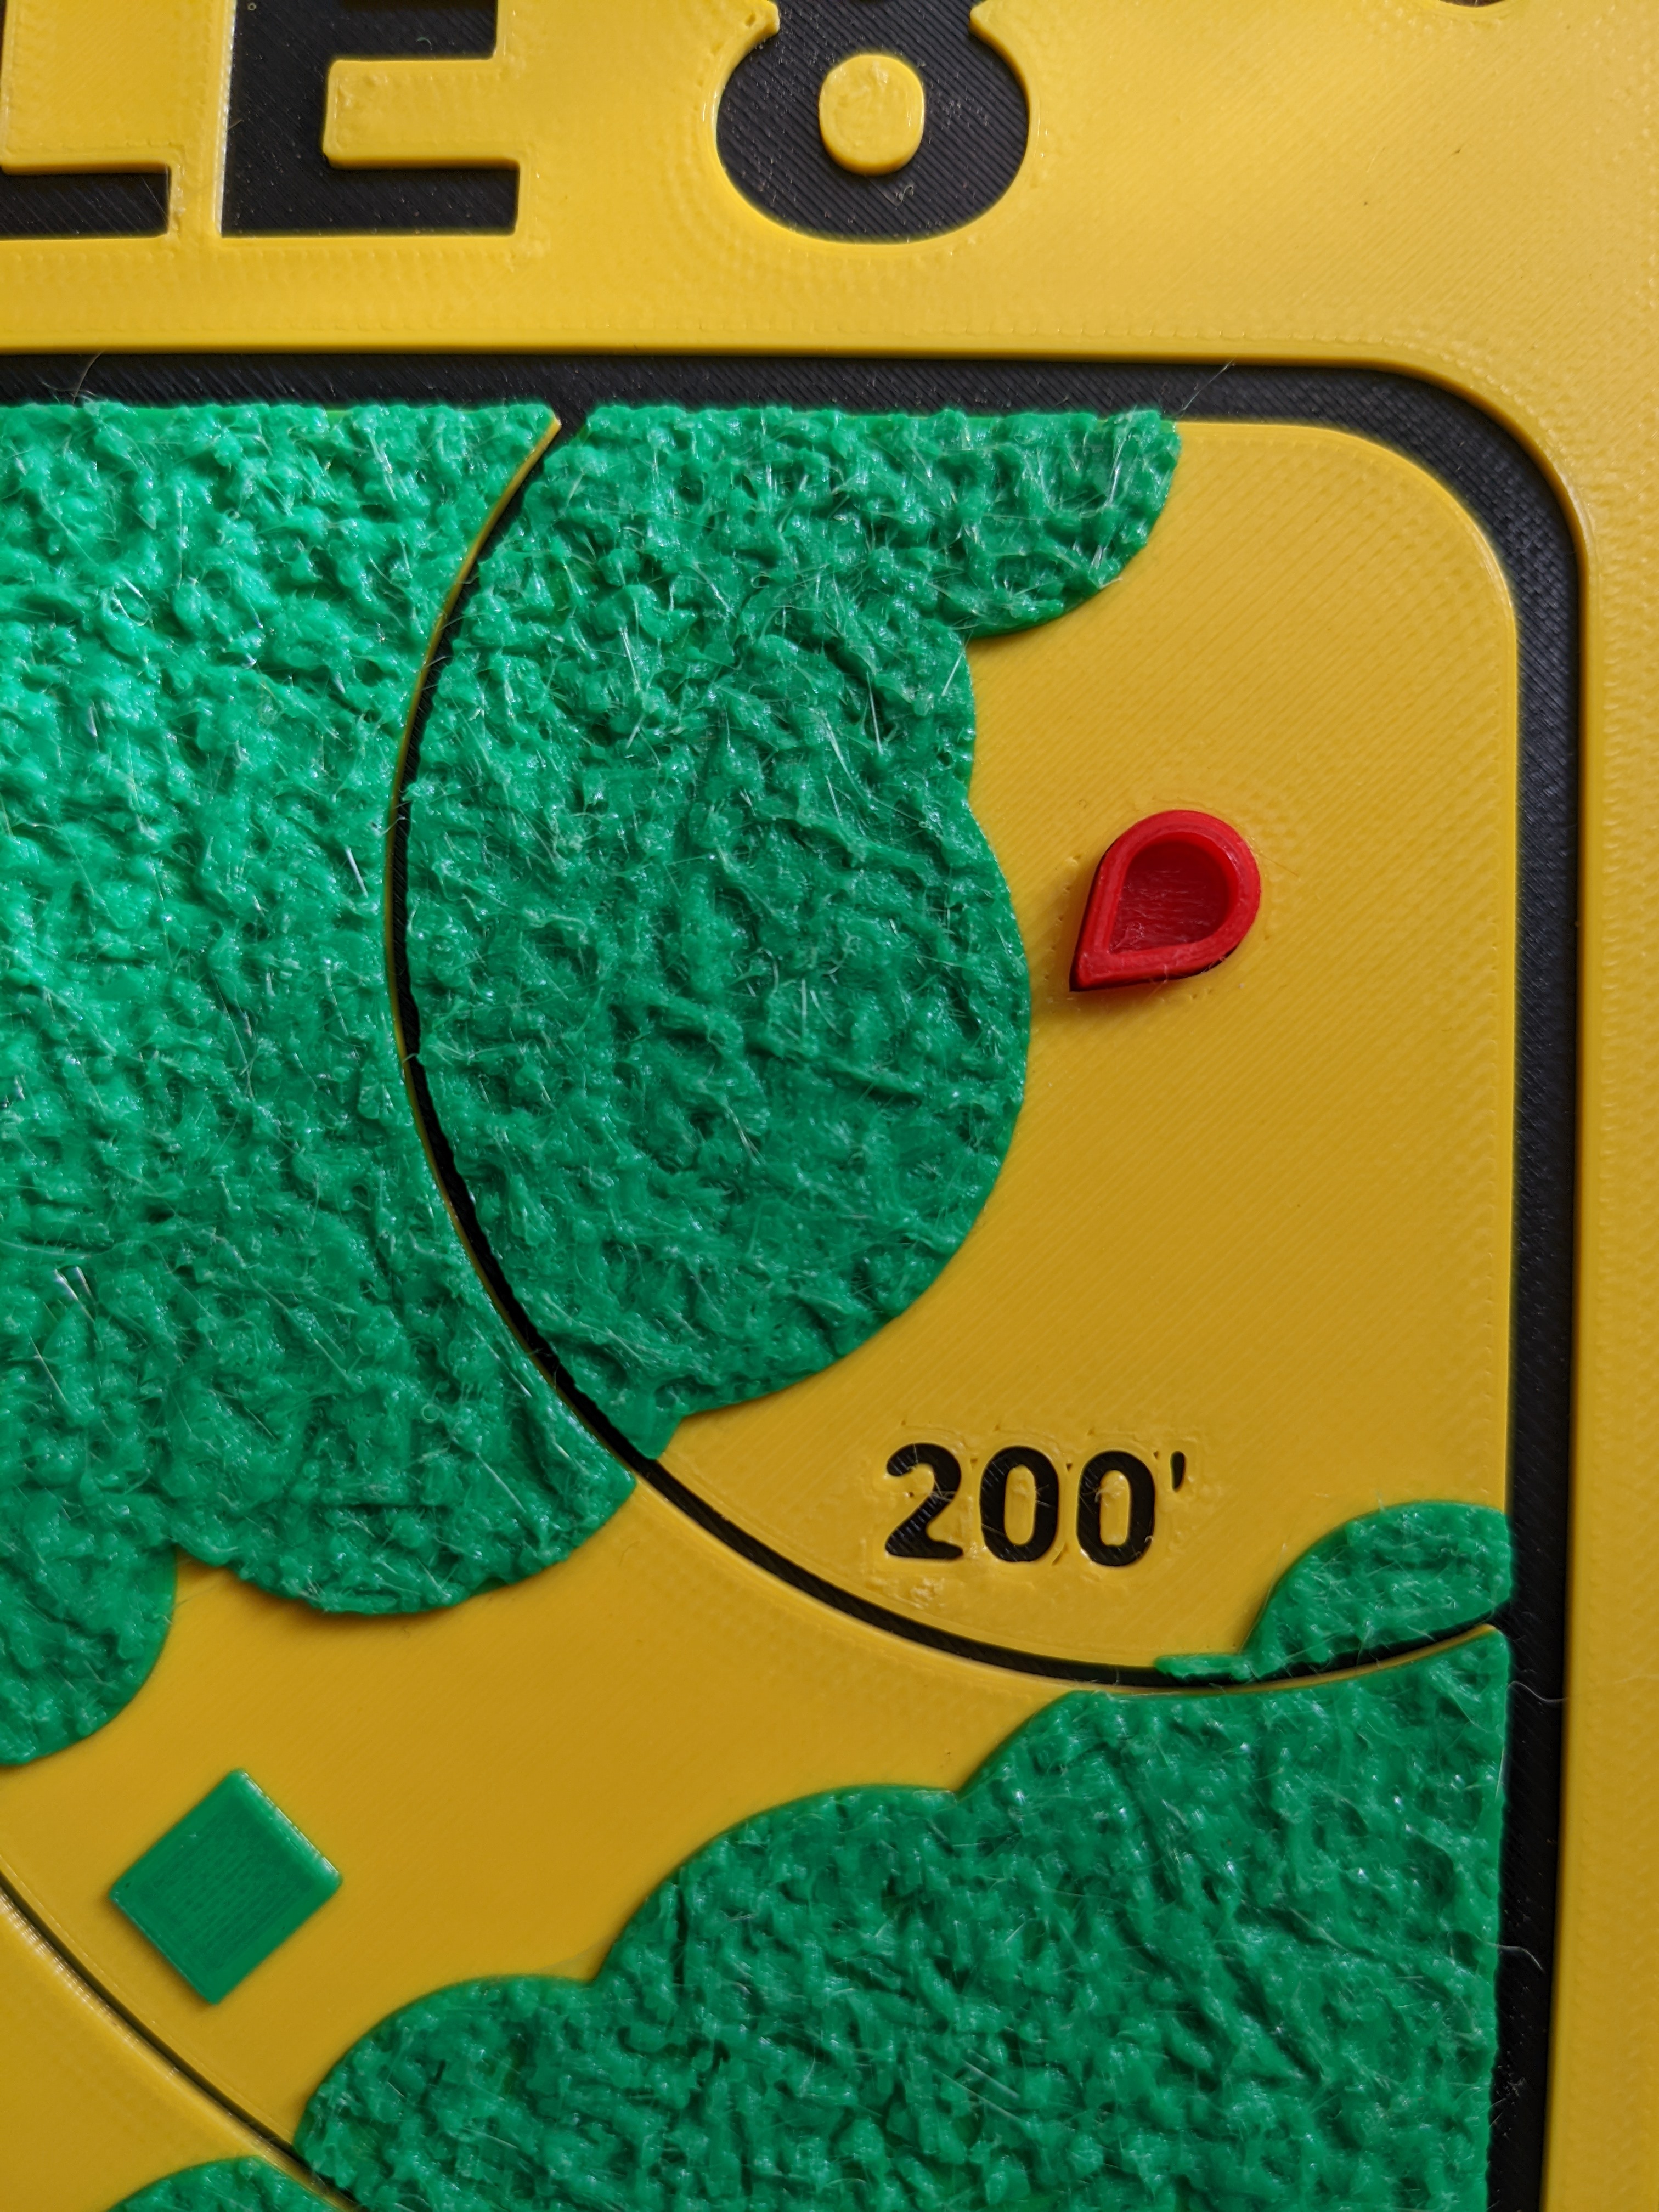
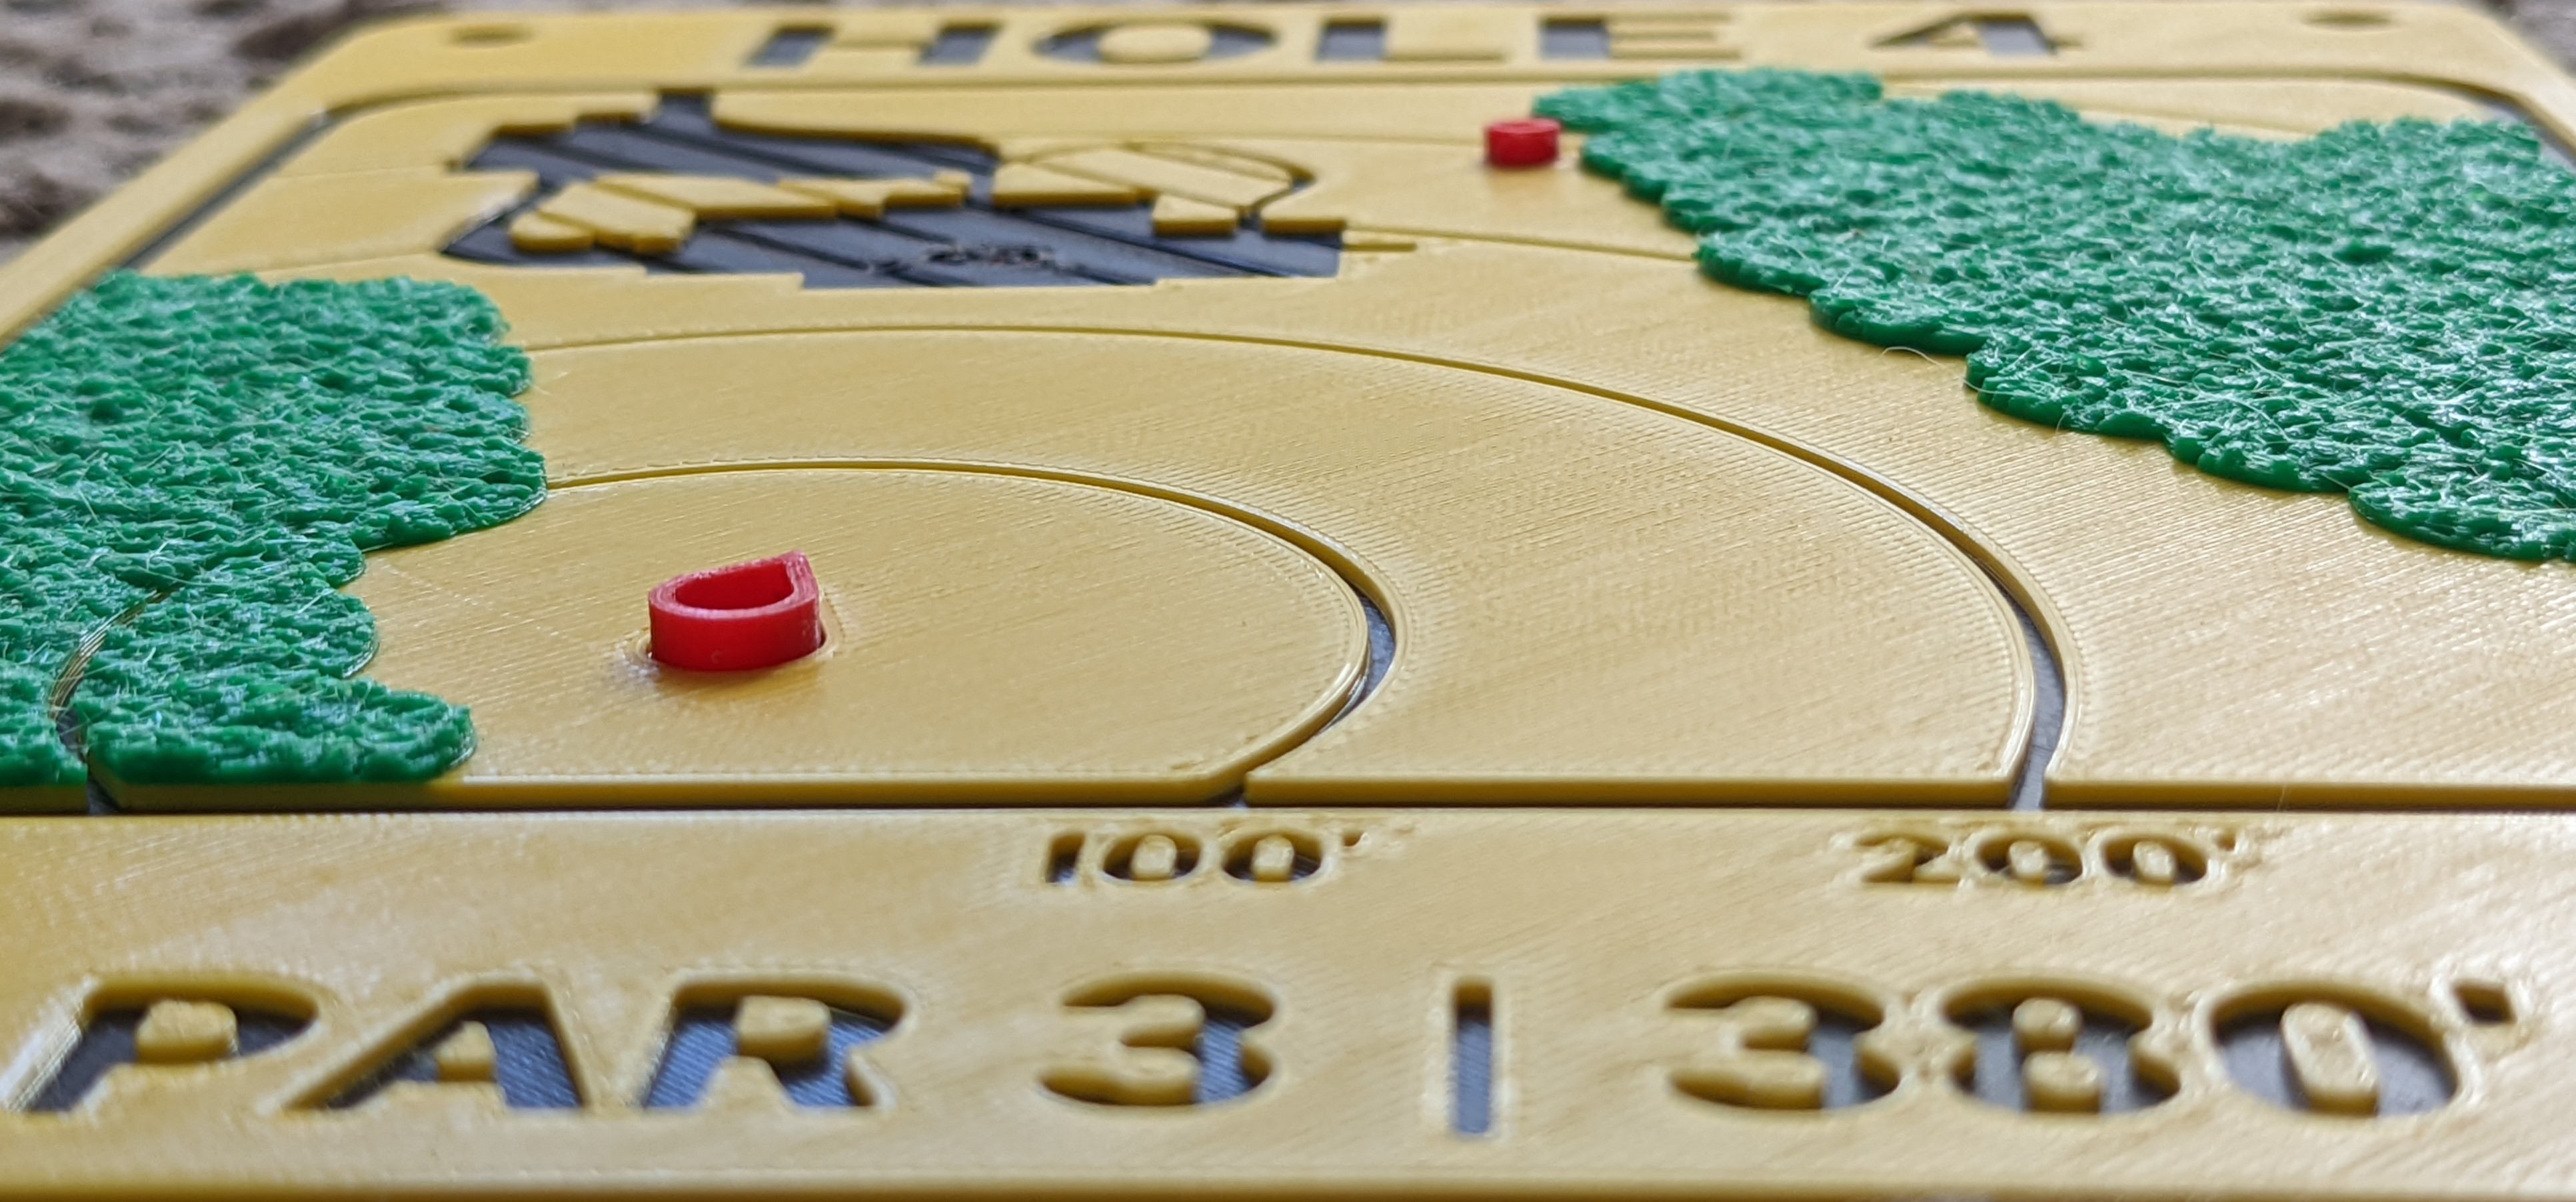
Separate object glued onto background. Color and overall shape can be adjusted.
Staring down the gaunlet. Pick a line and keep it in the fairway.
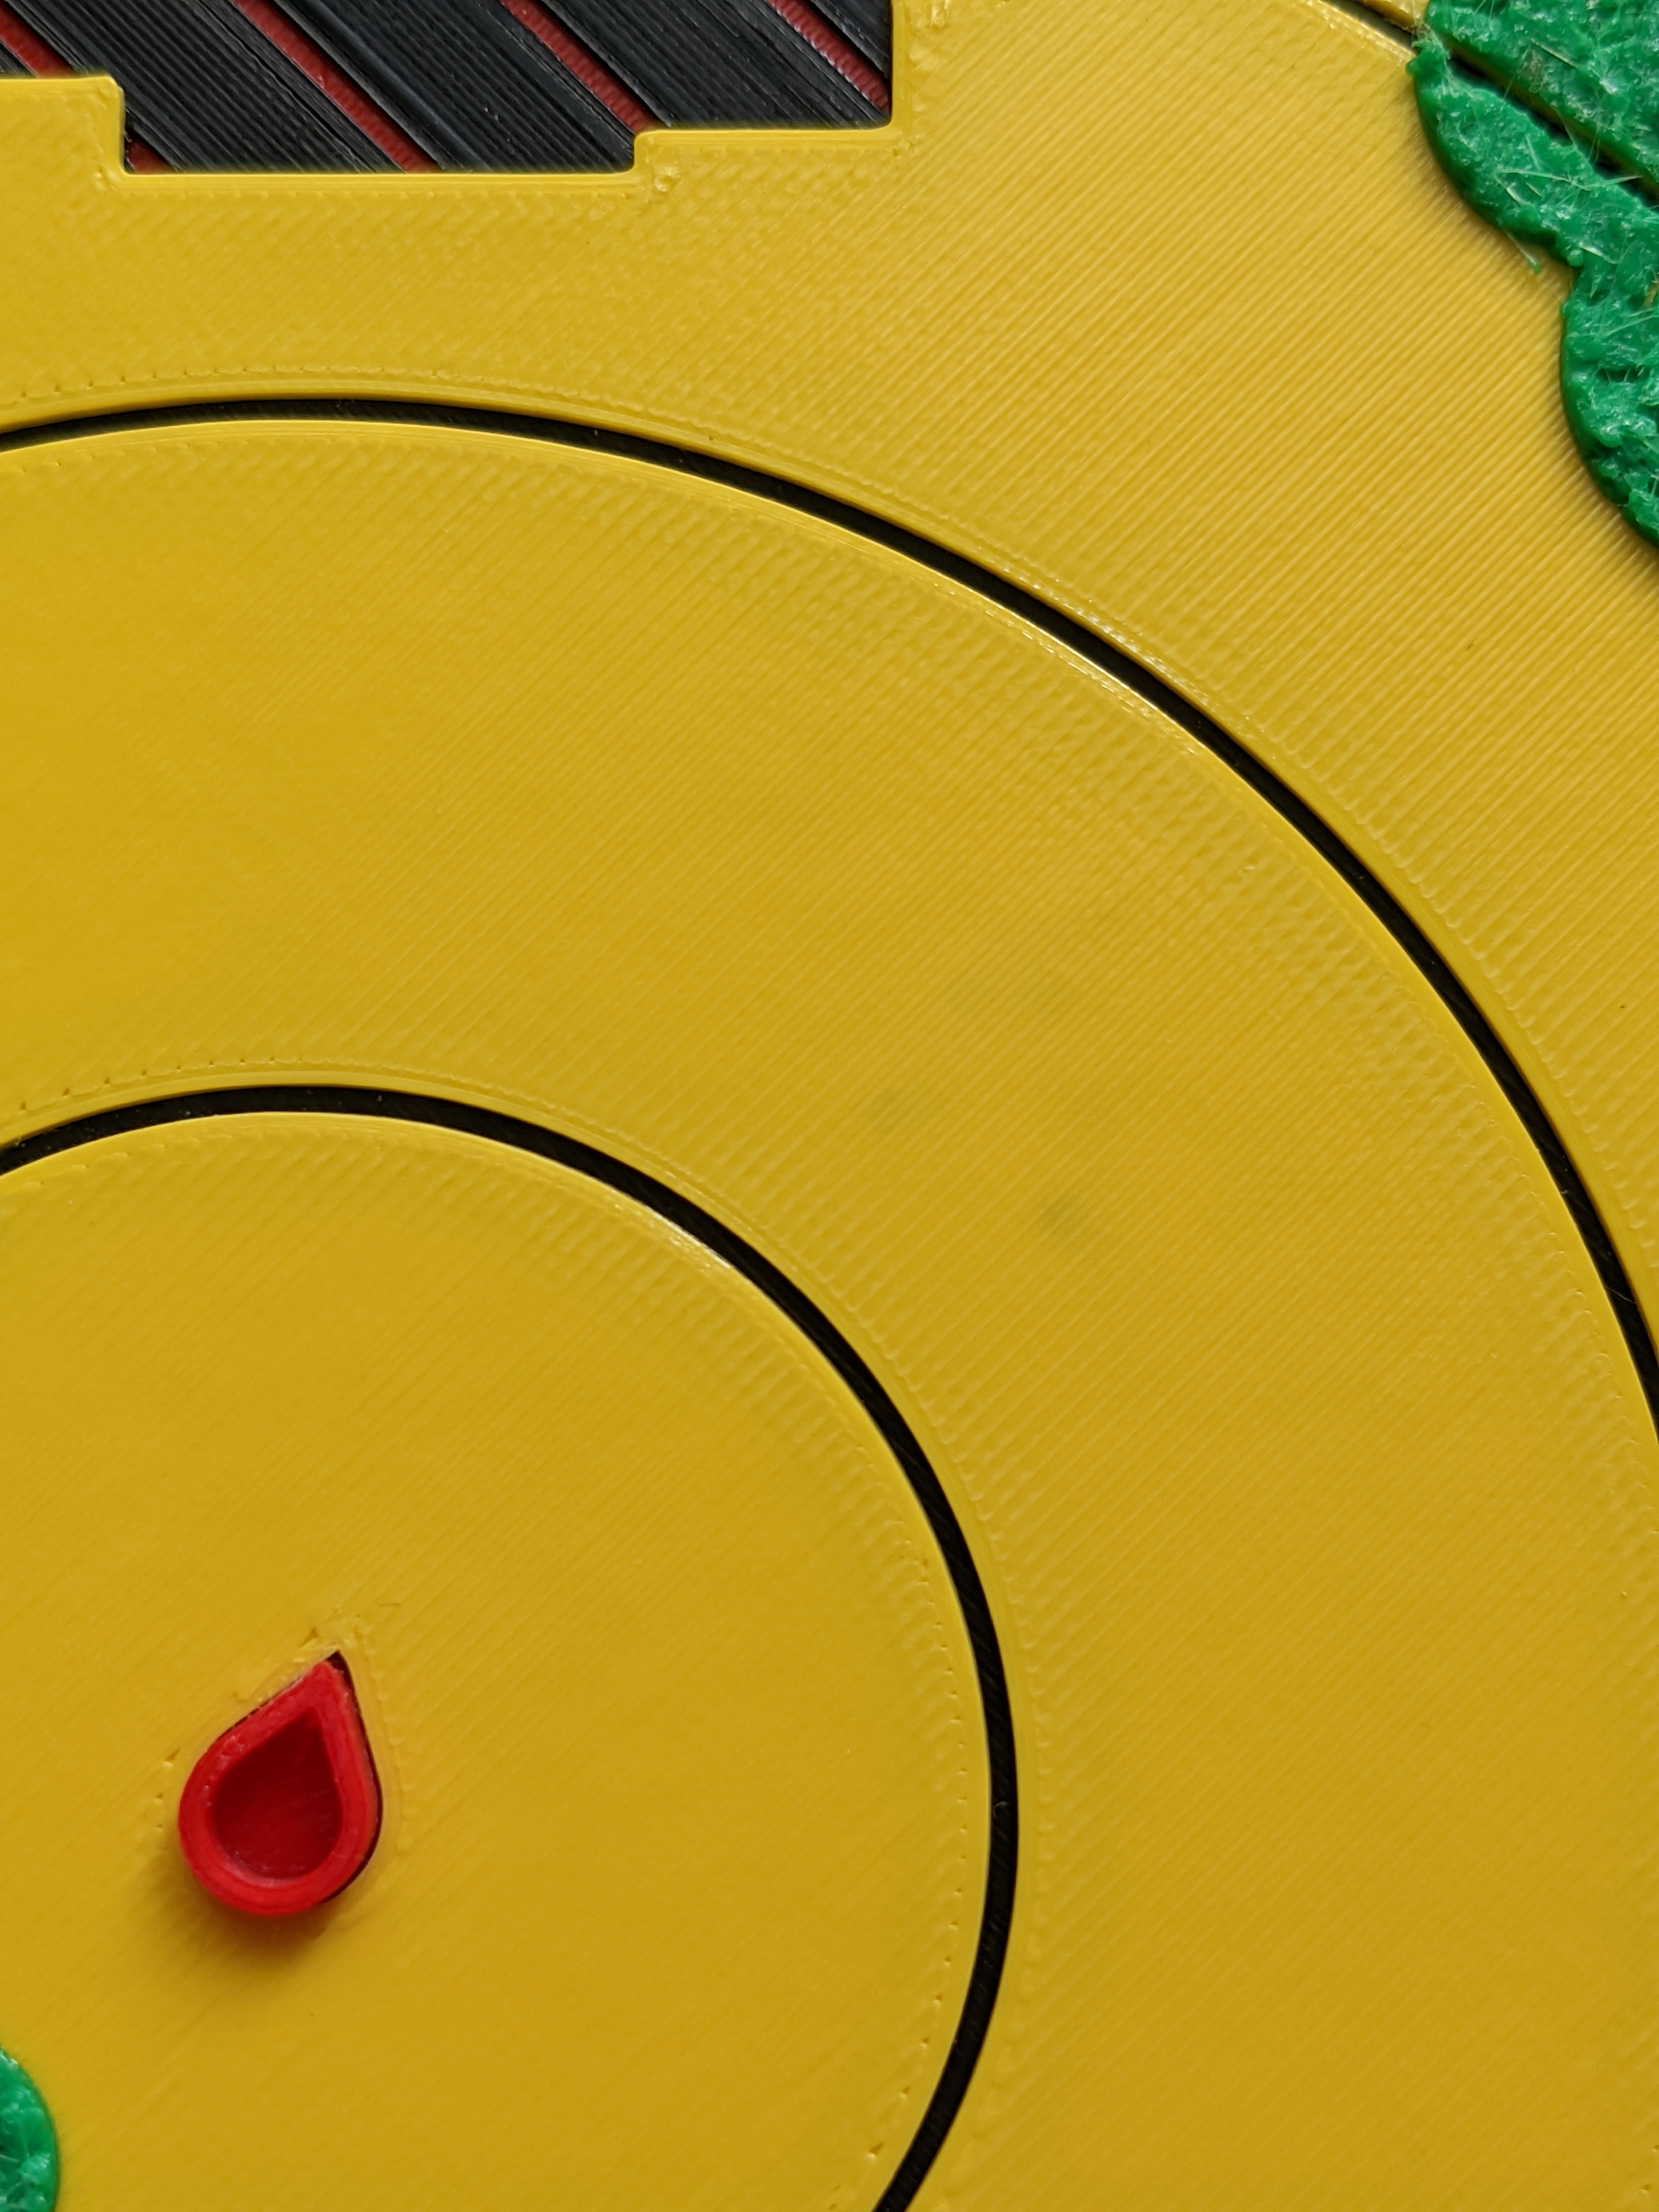
Utilized mapping services and feet on the ground to verify distances.
Try to avoid tree trunks in order to escape the woods on hole 3.

Red underlayer with a black finish on top to give a hatched appearance for OB.
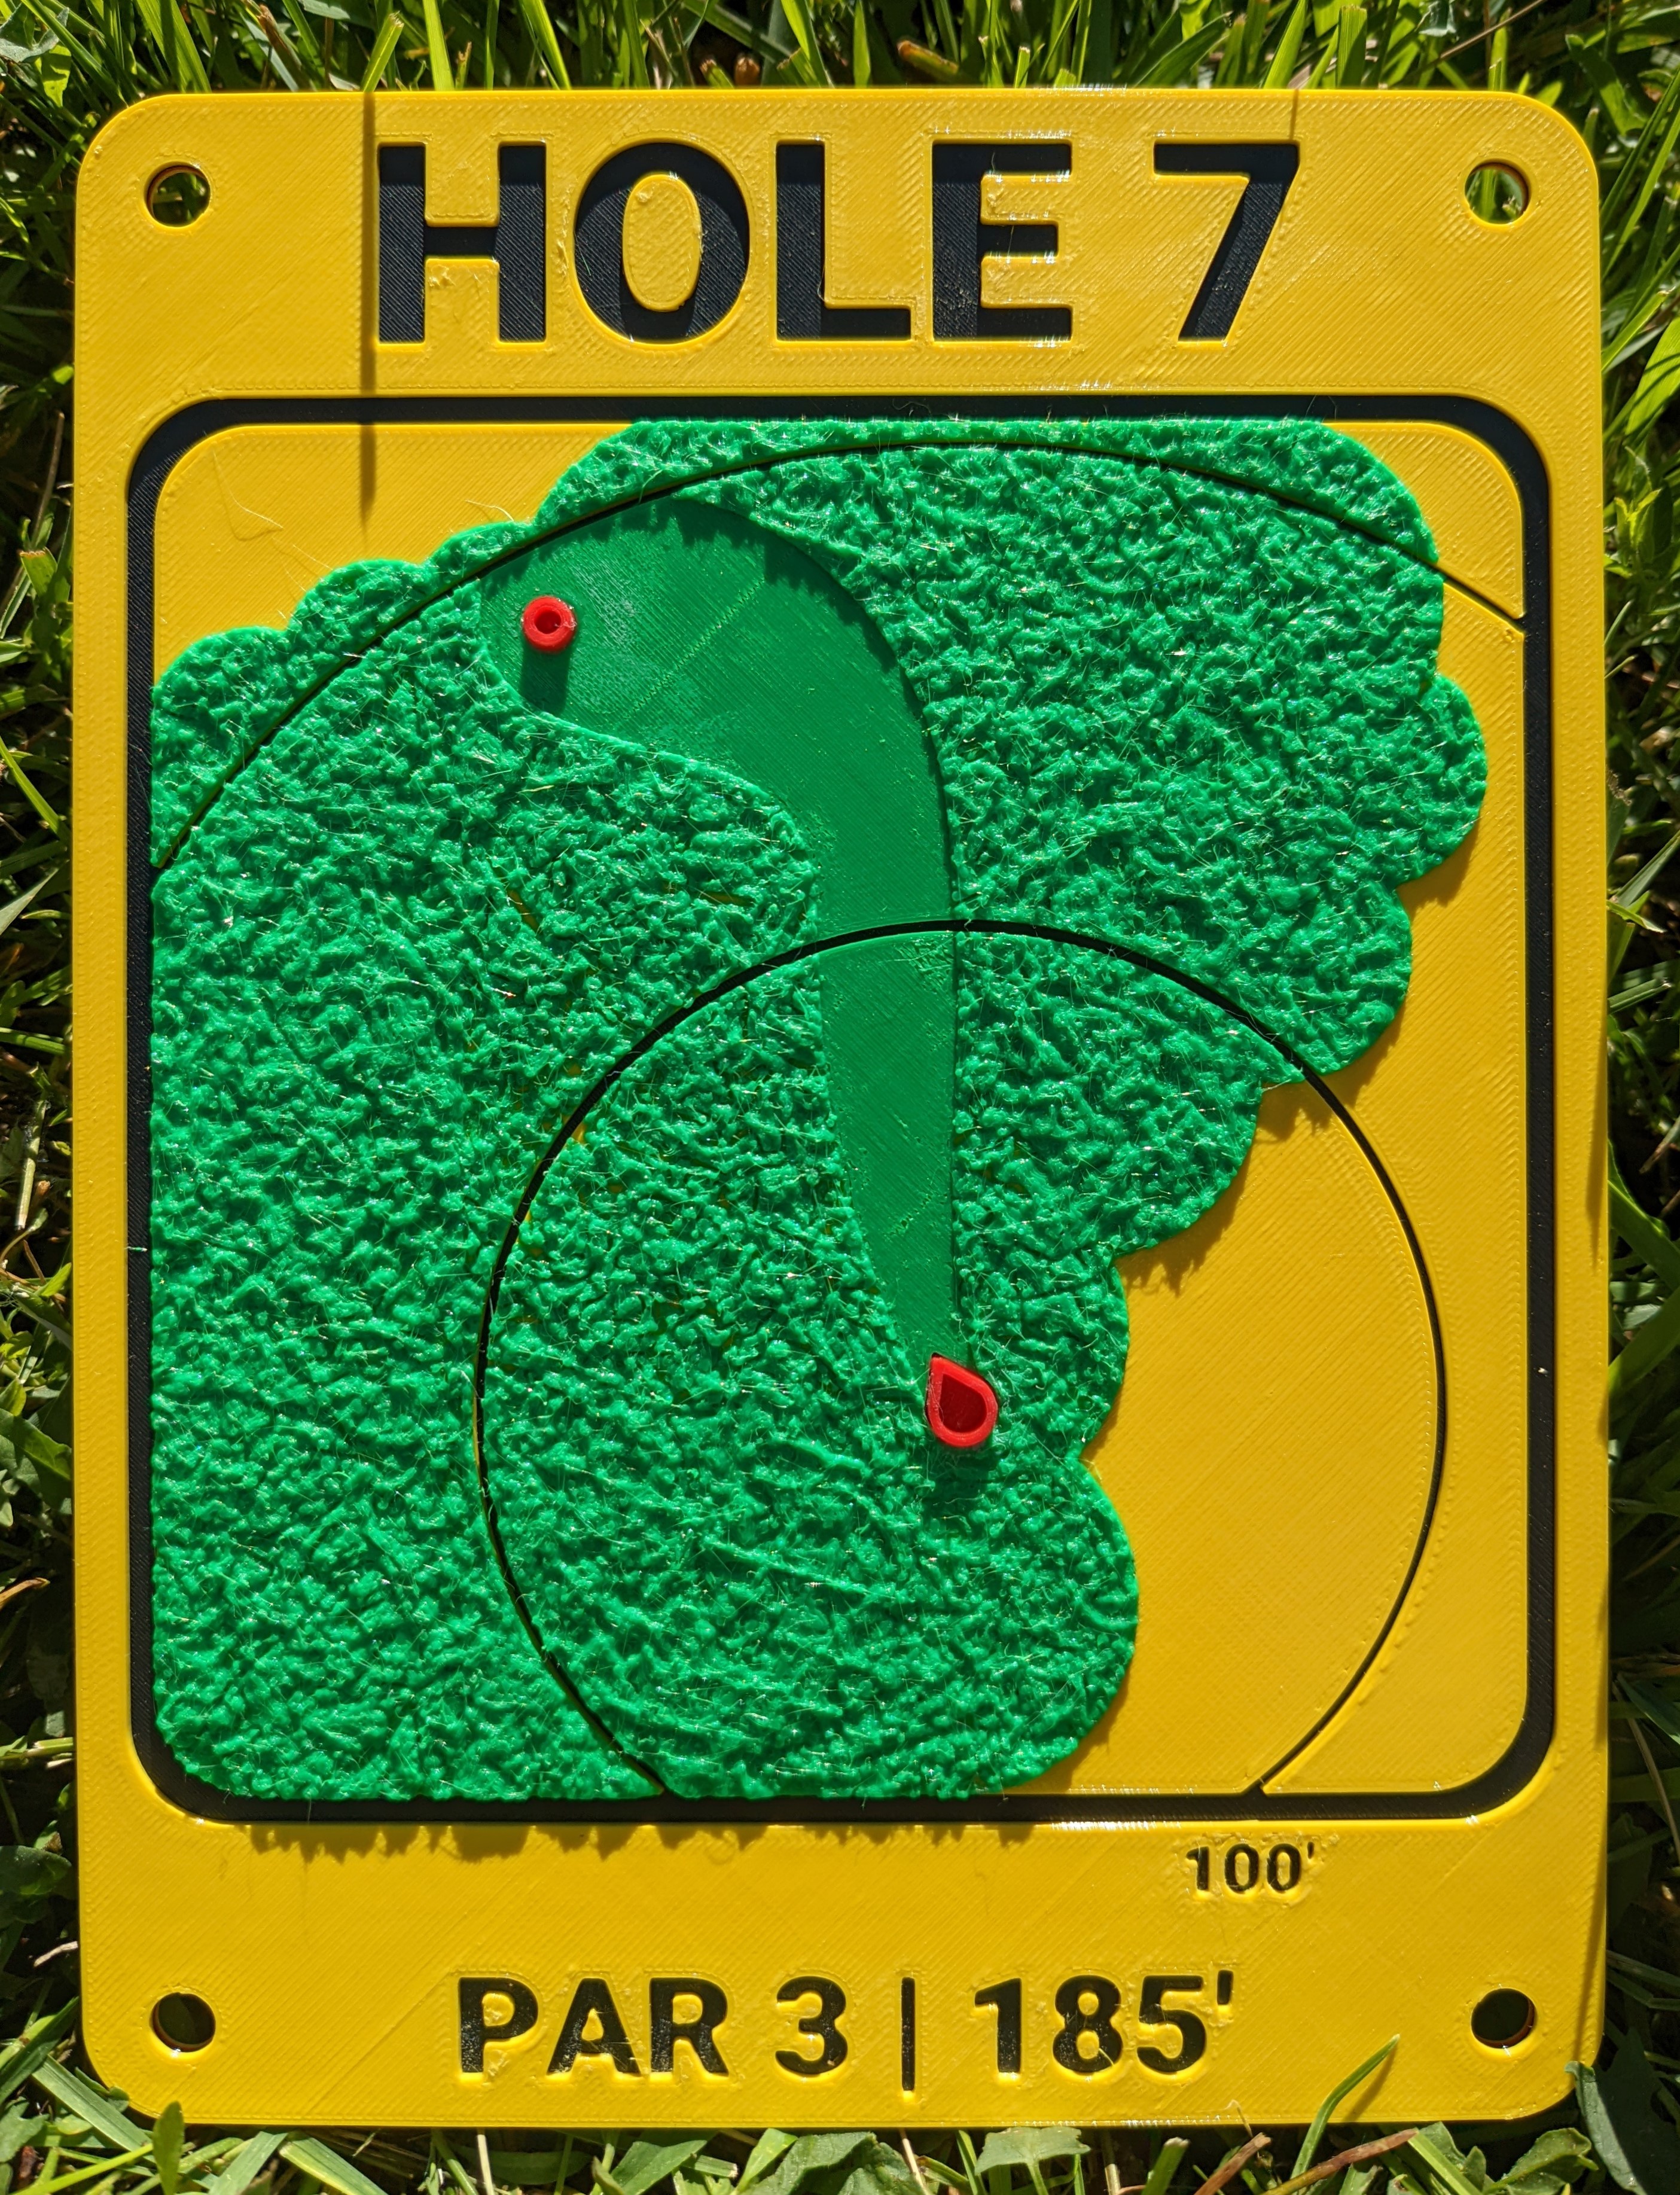
Short but technical woods golf.
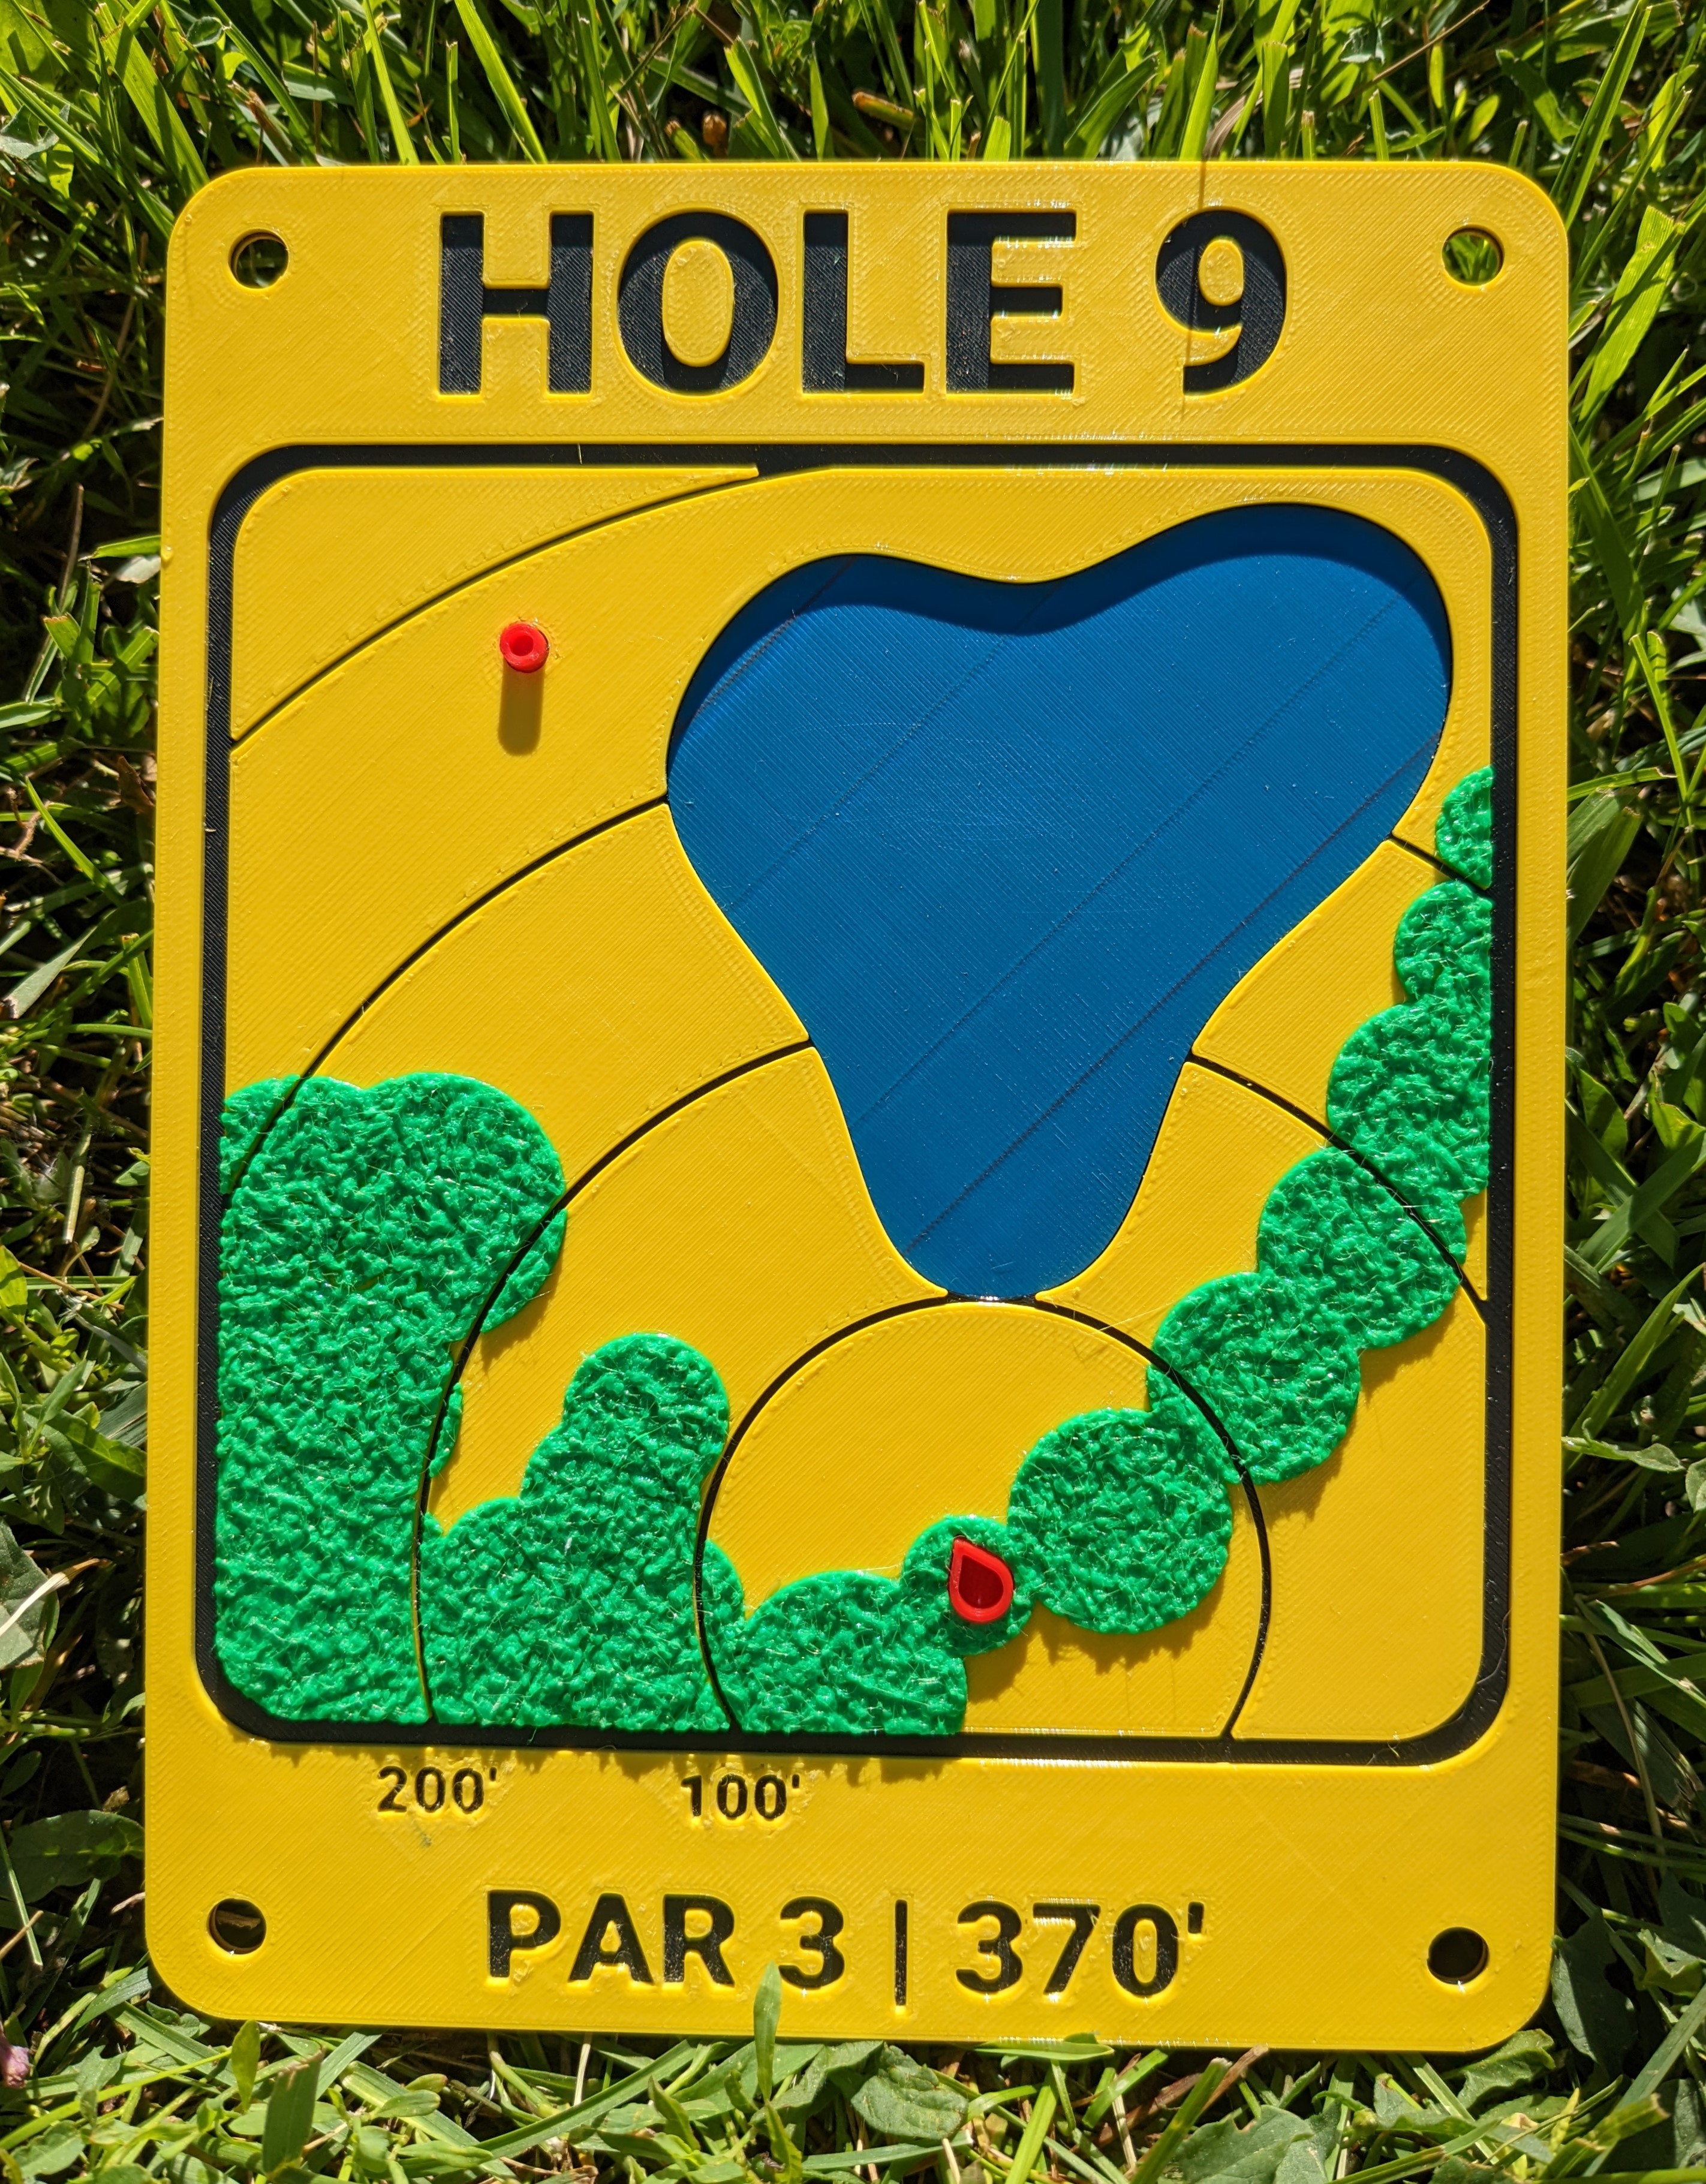
Decisions to be made - push the lake or play it safe.
Descending in elevation with a gradual curve.
Make sure to keep it away from OB.
Shoot the gap in the trees to set up a technical approach.